A blog devoted to the cards I make in my tiny upstairs space. When my sister stays there, she calls it an "artist's garret". I'm not an artist, but am an enthusiastic cardmaker - hence the title "Cardmaker's Garret".
___________________________________________________________________________________________

Sunday 31 March 2019

Embossed Ornament Background

For the 52 Christmas Card Throwdown challenge:


I used an embossing folder of Christmas ornaments and created this card:


The die cut ornament is cut from a scrap created by laying a snowflake mask over cs and spraying with a blue spray.  I added foam tape to raise it above the embossed ornaments background.  A nice quick card!


Supplies:
Stamps - Rubber Soul sentiment
Ink - Memento Danube blue
Paper - white cs, mixed media cs
Size - A2
Accessories - Cuttlebug embossing folder, Spellbinders ornament die, Memory Box snowflake mask, blue spray, blue cord, fun foam


Friday 29 March 2019

One Image of Tulips


AAA Cards wants one image only, with an optional twist of spring.


I think tulips are one of the best images for spring so I pulled out an old stamp and made this card:


A very quick CAS card - stamped and coloured, trimmed with a wonky stitched rectangle, bordered with green, and popped up on fun foam. And a few pink sequins for embellishment.


Supplies:
Stamps - SU
Ink - Memento Tuxedo Black
Paper - white and green cs
Size - A2
Accessories - MFT Wonky stitched rectangle die, Tombow markers, pink sequins, fun foam


Wednesday 27 March 2019

A Couple of Christmas Cards


Still taking it easy and hanging out mostly at home as I have a lingering cough from last week's cold.  So getting some cards made!


 A very simple card in a different shade of green from the usual Christmas green.

I mixed some green Distress ink with crackle paste and went over the zig zag Christmas tree stencil with it. When dry, I popped it up on fun foam on a green card base and added rhinestones. I pulled out various sentiment stamps but none seemed right so decided to just add one inside.

It's going over to Addicted to CAS for this challenge:


And to the ABC Christmas Challenge - "E is for Embellishments".


My other card is another primarily green card:


I used a very old Dreamweaver stencil.

On mixed media cs, I went over the stencil with white embossing paste and then while the paste was still wet, carefully added glitter just to the mistletoe berries. My trick for adding loose glitter to small areas is to cut a sharp diagonal point on a drinking straw and use that as a tiny scoop for the glitter.

When the rest of the paste was dry, I put the stencil back on and went over the paste with Distress markers. With a damp paint brush, I pulled out a bit of the Wild Honey I used on the border part of the image to add some shading in the centre area.

I had some decorative paper that went perfectly so created a border with it. And I had the perfect sentiment for the challenge too!

It's heading off to Christmas Cards All Year Round for their "Under the Mistletoe" challenge.

Two more ready for my Christmas sale!


Supplies for card 1:
Ink - Distress evergreen bough
Paper - mixed media and green cs
Size - A2
Accessories - Christmas tree stencil, crackle paste, rhinestones, fun foam

Supplies for card 2:
Stamps - Penny Black sentiment
Ink - Ranger Library Green
Paper - cream cs, mixed media cs, SEI dp
Size - A2
Accessories - Dreamweaver mistletoe stencil, Dreamweaver white embossing paste, glitter, Distress markers, fun foam


Monday 25 March 2019

Red Birds on an Ornament

Lauren and Stephanie over at Jingle Belles have challenged us to put birds on our Christmas cards.


I had a gold card board from underneath a French pastry I recently bought. It was still very clean after I'd eaten the pastry, and too perfect to throw away - and perfectly ornament-shaped with the tab at the top!

I added a green shimmer holly die cut, two die cut red birds and a sentiment, then embellished with dark red gemstones for the holly berries. I "hung" the ornament with gold cord from the top of the card base.

I might have to go back to that pastry shop again!


Supplies:
Paper - cream, red, and green shimmer cs, gold cardboard cake board
Size - A2
Accessories - Penny Black holly die, Tattered Lace "merry" die, Memory Box bird dies, dark red gemstones, gold cord


Saturday 23 March 2019

Twofer Balloons and Ghosted Snowflakes

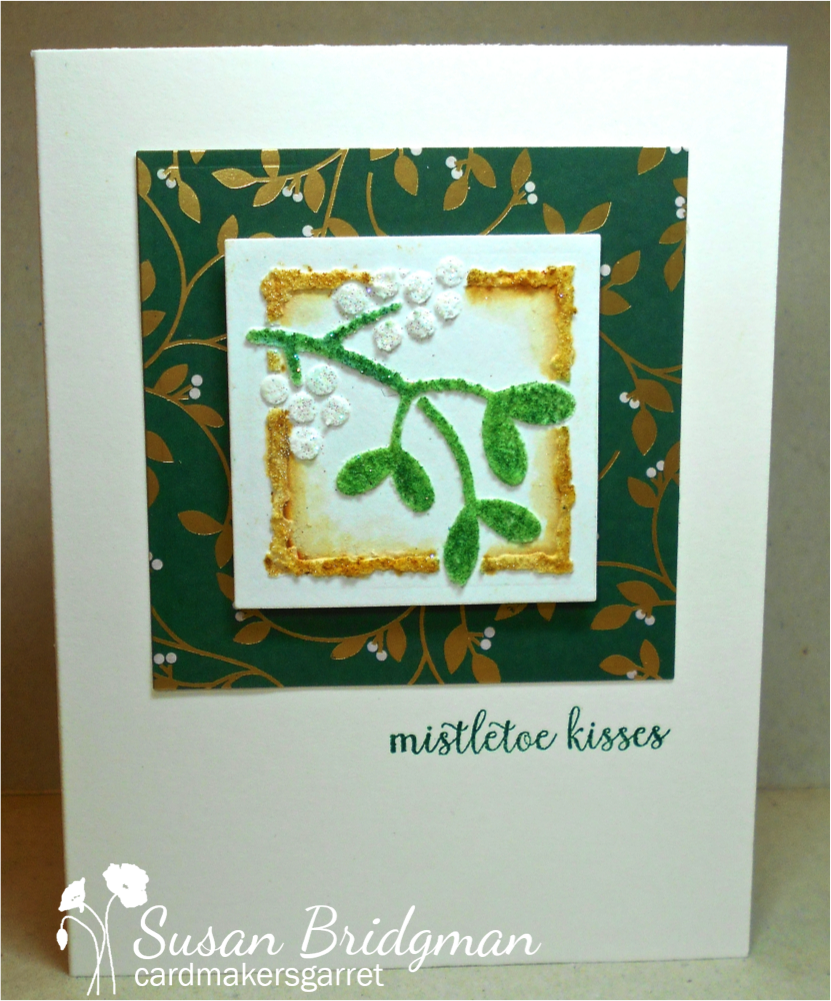
I've been lying low with a nasty cold but finally today I felt more energetic and got three cards made so that I can squeak in under the wire for a couple of challenges!

First up, Darnell's Twofer Challenge - one that truly is a challenge for me!


I could only think of two stamps I have with a balloon and one of them only works for Christmas, so had to go with the other.  Here's the Twofer:


The one on the left is the full stamp - the girl and the balloon are a famous Banksy image, and are one single stamp.  I used a simple "love you" sentiment - it will be a Valentine card.


For the second card, I stamped the bear, then used just the balloon part of the Banksy image, stamping it multiple times in different colours, having all the strings converge at the bear's hand.  I coloured the bear with coloured pencils and trimmed the image with a stitched circle and used a contrasting colour for the card base.


For both cards, I popped up the focal panels on fun foam and went over the balloons with Glossy Accents.


Next up is this card:

Right back to my comfort zone of blue and white, and Christmas cards!!

I smooshed a piece of mixed media cs with a couple of blue Distress inks, and then laid a snowflake stencil over it and removed some of the colour with a baby wipe - the "ghosting" technique.  I added a reindeer die cut from white glitter cs and a sentiment using a Tim Holtz rub-on.  I popped the panel up on fun foam and added a few small die cut white glitter snowflakes around the card base.

It's going over to the following challenges:


Thanks for hanging in for such a long post!!


Supplies for 1st card:
Stamps - Viva Las Vegas "Banksy Girl with a Balloon", PTI sentiment
Ink - Memento Tuxedo Black and Rhubarb Stalk
Paper - white cs
Size - A2
Accessories - Lil Inker stitched rectangle die, Glossy Accents, fun foam

Supplies for 2nd card:
Stamps - Viva Las Vegas "Banksy Girl with a Balloon", AE bear, Lawn Fawn sentiment
Ink - Memento Tuxedo Black, Rich Cocoa, and various colours for the balloons
Paper - white and mottled brown/beige cs
Size - 4.75" square
Accessories - coloured pencils, Lil Inker stitched circle die, Glossy Accents, fun foam

Supplies for 3rd card:
Ink - blue Distress inks
Paper - mixed media and white cs, SU white glitter cs
Size - A2
Accessories - PaperArtsy snowflake stencil, Cheery Lynn snowflake dies, unknown reindeer die, fun foam


Friday 22 March 2019

Faux Mother of Pearl Flower

It's "Anything Goes" at the Flower Challenge this month.


Here's my card:


I used the faux mother of pearl technique through a stencil. I started by scrunching up some cling wrap, pouncing it into some Frost White paint that I'd put on my craft mat, and then pouncing that randomly through my stencil. I washed and dried the stencil, then replaced it over the Frost White (but didn't quite get it lined up - darn). I sponged over the stencil with two shades of Distress orange inks and one green.

I trimmed the panel, bordered with green, added a brown sentiment, popped it up on fun foam, and embellished with three orange sequins.

Here's a close-up of the faux mother of pearl:


Thanks for stopping by today!


Supplies:
Stamps - A Muse sentiment
Ink - Ranger Potting Soil, Distress Spiced Marmalade, Abandoned Coral, and Peeled Paint
Paper - white and green cs
Size - A2
Accessories - Tsukineko Frost White paint, Artplorations Happy Flowers stencil, orange sequins, fun foam


Thursday 21 March 2019

Take 3 Vintage Santas

Less is More has a fun challenge right now:


They want something where you have three of an item.  I chose to go with three inchies of vintage Santas:


I stamped them and the sentiment with a brown ink on Vintage Cream cs, bordered with a piece of homemade red paper from my stash, and mounted on the same cream cs. I made it a long narrow card as it suited the three images in a row.

I'm also entering it the Sparkles Christmas Challenge where "Vintage" is the theme for March.


Supplies:
Stamps - Darkroom Door Christmas Inchies, Penny Black sentiment
Ink - Versafine Clair Fallen Leaves
Paper - PTI Vintage Cream, handmade red paper
Size - 7"x3.5"


Sunday 17 March 2019

Reindeer Gazing on the Star of Wonder

Have you entered a card in the CAS Christmas challenge yet?  I'm hosting this month, and I chose "Deer" as the theme.


I wanted to do something quite different to the card I did for the opening of the challenge.


I started by sponging the deep blue sky, adding a bit of gold sponging in the area where the star would be giving off light.  I die cut two of the star of wonder, gluing them together to give that star more substance than the three small stars that were just single layers.

I tore two strips of white cs for snowy ground.  I stamped my sentiment on the lower one - it's actually just the first line of a longer sentiment.  I die cut the reindeer out of dark bronze shimmer cs (unfortunately it looks black in the photo) and added it to the upper strip of snow in a position where he is looking up at the star of wonder.  I put a bit of foam tape under his neck and head to emphasize him looking up.


It's CAS Christmas's first birthday, so we'd love to have you join us this month!


You have until March 24th to link up your card.  For more inspiration, head over to CAS Christmas and take a look at the cards by the rest of the Design Team and this month's Guest Designer, Chrissie (Simply One of a Kind).


Supplies:
Stamps - Serendipity sentiment
Ink - Delicata Golden Glitz, Distress Chipped Sapphire
Paper - white, gold shimmer, and dark bronze shimmer cs
Size - 6x4.25"
Accessories - Dee's Distinctively deer die, Memory Box Star of Wonder die, small star die, foam tape


Saturday 16 March 2019

Brushos and Zigs on Vellum

Time to remind you to give watercolouring on vellum a try!  It's the March challenge at CAS Watercolour.


 I decided to try using Brushos and Zigs on vellum, and came up with this card:


For the lighter green background, I sprinkled some green Brushos on vellum, spritzed it, and then let it air dry for several hours.  I stamped the sentiment on it with Staz-on ink.

I die cut the holly sprig and the three layers of the small poinsettia out of heavy-weight vellum, then watercoloured them with my Zig markers (two shades of green and two of red) and a waterbrush. 

I die cut a frame for the background vellum, tucked the holly under it and added the poinsettia to one corner.

I used red gemstones for holly berries and a single gold gemstone for the centre of the poinsettia.

You have until March 24th to link up your clean and simple card featuring watercolouring on vellum.  Head over to CAS Watercolour to see more inspiration from the rest of the Design Team and this month's Guest Designers, Birgit (Rapport fran ett skrivoord) and Ros (Mikey's Mom).


Supplies:
Stamps -  Stampendous sentiment
Ink - Staz On Claret
Paper - white cs, vellum
Size - 4.75" square
Accessories - Tim Holtz holly die, Memory Box poinsettia die, MFT frame die, Lil Inkers stitched square die, green Brushos, green and red Zig markers, red and gold gemstones


Friday 15 March 2019

Gorgeous Greens

Two cards for some colour challenges.  First up, this one:


I put the "Berry Branch" stamp in my MISTI and inked it up with different green mini Distress inks, spritzed lightly and stamped onto mixed media cs, repeating till I was happy with it.  I trimmed the panel and added it to a green cardbase.   Some of my inking and spritzing made a blob in the middle so I covered that with my stamped and heat embossed sentiment.  I added rhinestone stickers to the berries (the berries are on the mistletoe branches so needed to be white - no berries on the holly branch).

It's going off to two challenges that must have St. Patricks Day in mind:

The Male Room - Gorgeous Greens


Krafty Chicks - Shades of Green

And since one of the branches is mistletoe, it's heading off to this challenge as well:

Christmas Cards All Year Round - Under the Mistletoe


Supplies:
Stamps - Penny Black "A Berry Branch", SU sentiment
Ink - Distress Pine Needles and Bundled Sage, Versamark
Paper - green and mixed media cs
Size - 6x4.25"
Accessories - Sizzix label die, Platinum embossing powder, Recollections Rhinestone Stickers, foam tape


Thursday 14 March 2019

White and Gold

I've done some more playing with the "encrusted jewels" technique, and put two pieces together for this card:


To make the tree and star, I die cut them out of thin chipboard, then placed them on a warm grill on top of a layer of non-stick craft mat then parchment paper.  I sprinkled them with gold embossing powders.  Once they had melted, I added multi-coloured chunky glitter pieces on top.  The melted embossing powders hold the glitter in place.  To finish it off, I melted UTEE (Ultra Thick Embossing Enamel) on top.  I then die cut the same two dies from fun foam and attached them immediately to the encrusted star and branch to give them a bit more body so that they wouldn't bend and crack.

I stamped and heat embossed my sentiment, scattered some Frantage Shabby White on the focal panel and heat embossed it from underneath,  then attached my two encrusted jewel pieces, and popped the panel up on fun foam.

Here's a close-up of the encrusted jewels:


Love all the challenges out there that keep me working on my Christmas cards!


Supplies:
Stamps - Old Island Stamping Co. sentiment
Ink - ColorBox Gold
Paper - thin chipboard, white cs
Size - A2
Accessories - star and tree dies, various gold embossing powders, various glitters, UTEE, Stampendous Shabby White embossing powder, fun foam


Tuesday 12 March 2019

Adorable Bunny

Addicted to CAS has a fun challenge right now:


It provided a great opportunity for me to ink up a new stamp and make this card:


Definitely a very CAS card - the bunny and sentiment are inked up and stamped, the panel trimmed with a stitched rectangle, popped up on fun foam, and finished off with Fun Flock on the bunny's tail.


Supplies:
Stamps - Technique Junkies "Little Bunny", Great Impressions sentiment
Ink - Archival Potting Soil
Paper - white cs
Size - A2
Accessories - Lil Inkers stitched rectangle die, Fun Flock, fun foam


Saturday 9 March 2019

Teddy Bear's Christmas Ride


I just discovered a new Christmas card challenge that just started up this year - Christmas Kickstart Challenge.  The current challenge is "Have a Very Bear-y Christmas".

Here's my card:


I have a very old SU stamp (no idea what set it is from) that I found in a garage sale. Stamped, watercoloured, trimmed with a stitched square die, and thinly bordered with red and green to keep it traditionally Christmas and to match the saddle and the bear's ribbon. I stamped the sentiment as if it were coming out of the bear's horn / trumpet.

Looking forward to playing along with this challenge again!

And I'm taking the card over to Jingle Belles where the current challenge is to incorporate music notes, sheet music, or instruments - the teddy bear has an instrument.


Supplies:
Stamps - SU rocking horse, Penny Black sentiment
Ink - Archival Jet Black
Paper - watercolour paper; red, green, and cream cs
Size - 4.75" square
Accessories - Lil Inker stitched square die, Gansai Tambi watercolour paints


Thursday 7 March 2019

Spring Daffodils

When I saw this Paper Players challenge, I knew I had to do it, as Vancouver has had a very long snowy spell and I'm really looking forward to spring:


Here's my card:


I stamped the daffodils and painted with watercolours. I stamped and heat embossed the sentiment over the leaves. Trimmed the panel, bordered with a wonky stitched rectangle, and popped it up on fun foam. I added a drop of yellow liquid pearls to the centre of each daffodil.

Is everyone else as eager for spring as I am?


Supplies:
Stamps - Northwoods daffodils, TH sentiment
Ink - Versafine Onyx Black
Paper - watercolour paper, ivory cs
Size - A2
Accessories - clear embossing powder, Gansai Tambi watercolour paints, liquid yellow pearl drops, fun foam, MFT wonky stitched rectangle die