A blog devoted to the cards I make in my tiny upstairs space. When my sister stays there, she calls it an "artist's garret". I'm not an artist, but am an enthusiastic cardmaker - hence the title "Cardmaker's Garret".
___________________________________________________________________________________________
Showing posts with label Star of David. Show all posts

Tuesday, 26 December 2023

Celebrations

For the Stencil Fun challenge "Christmas" and the Inkspirational challenge "Celebrate", I have this card:

I did the background with red and green acrylic paints and a poinsettia stencil on a gelli plate.  Trimmed it and topped it with the Merry Christmas sentiment frame die cut and bordered it with dark red cs.

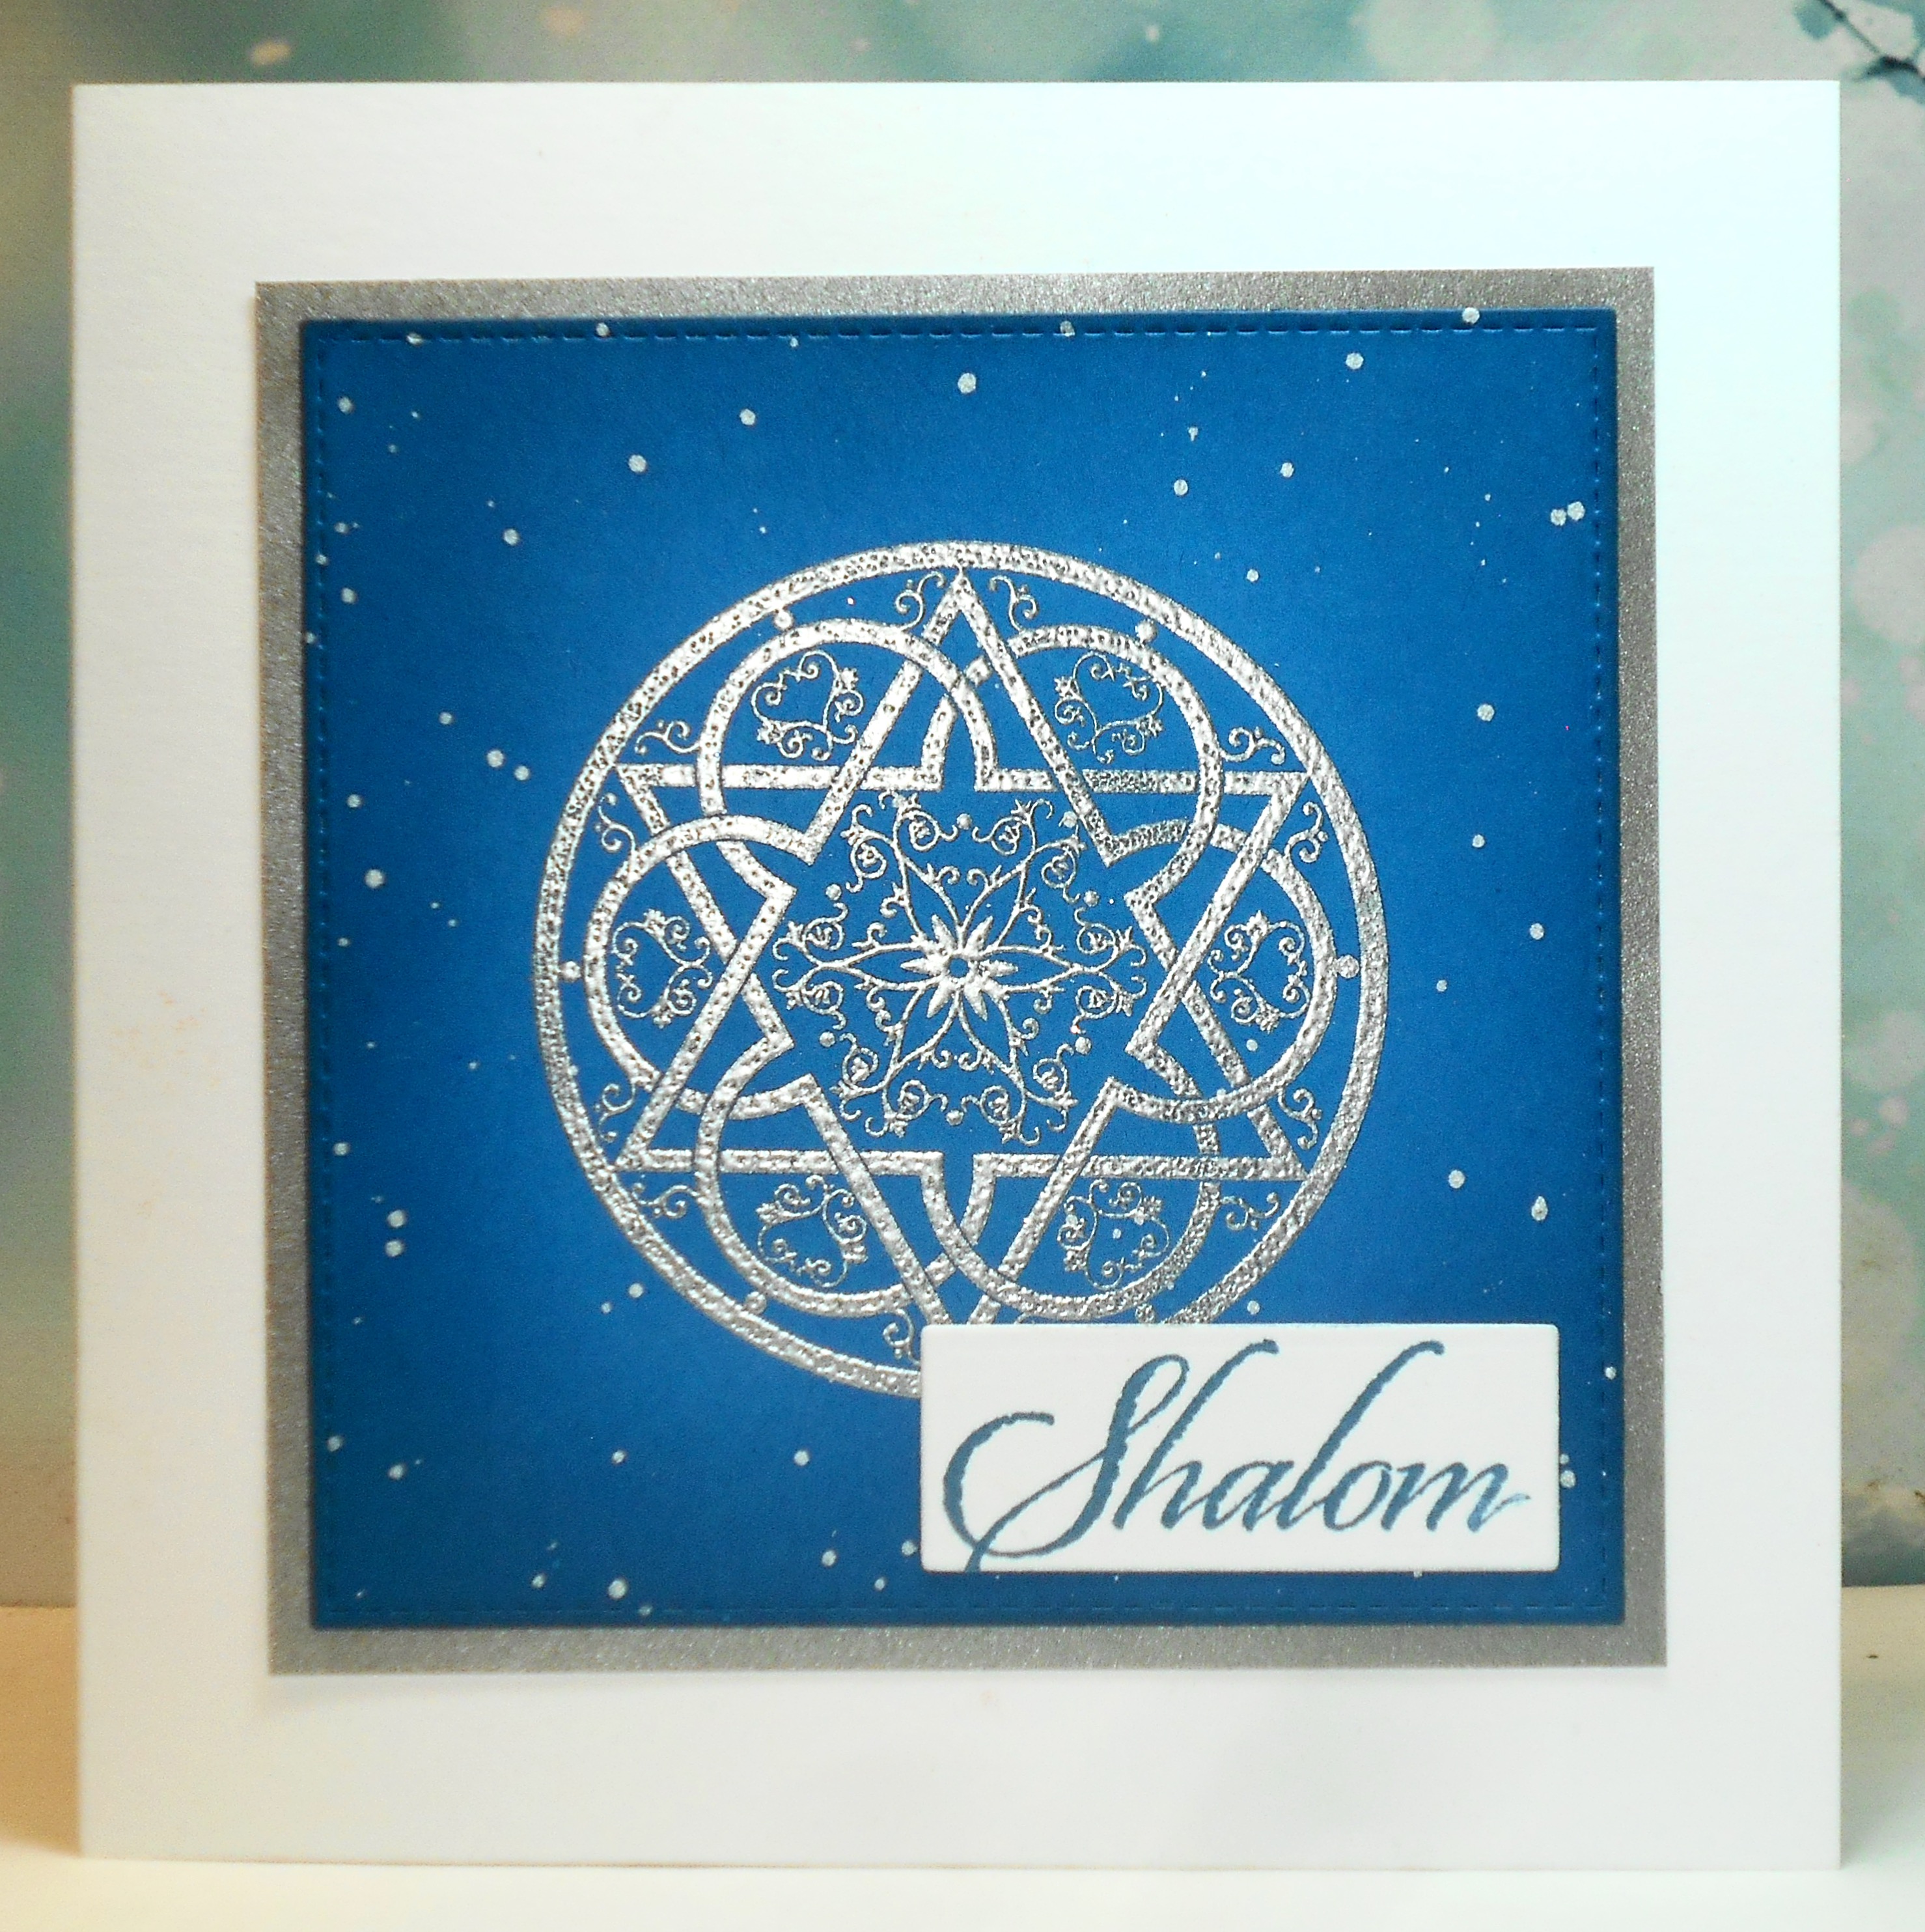
My Time to Craft wants to see December or January holidays.  I have a Hanukkah card:

I sprinkled blue Brushos on mixed media cs, spritzed with water and let it run to make a free-form background. I stamped and heat embossed the sentiment, then trimmed the panel, popped it up on fun foam, and added the silver die cut Star of David.

LOVE to have you SHARE our BADGE   

My Time To Craft!
I hope you all had a good holiday, whatever one you celebrate!


Supplies for card 1:
Paper - mixed media, white, and dark red cs
Size - A2
Accessories - gelli plate, red and green acrylic paints, Imagination Crafts poinsettia stencil, Simon Says Stamp sentiment frame

Supplies for card 2:
Stamps - SU sentiment
Ink - ColorBox silver
Paper - white, mixed media, and silver cs
Size - A2
Accessories - PTI die, silver embossing powder, blue Brushos, fun foam

Sunday, 10 December 2023

A Notecard and a Hanukkah Card

Starting off with a non-Christmas card - a note card for a set of blank cards that I'm making for a friend.  It's for the Color Throwdown Challenge "cobalt blue, aqua, and gold".

 I dropped alcohol inks in shades of blue onto yupo paper. I rubbed some gold foil onto the sticky bits of the AI.  I die cut the white stems, glued it onto the AI / yupo piece and set it inside a stitched oval opening. 

Next before I get back to Christmas cards, I've got a Hanukkah card for the Tic Tac Toe Challenge.  I chose the diagonal line that says December holiday, ornament, die cut.

I die cut the Star of David ornament out of silver glitter cs and again out of a scrap of white cs, and glued them together for more dimension. The branch is die cut from grey cs. The sentiment is stamped in blue and heat embossed, then die cut with a rectangle die. I glued the branch and ornament to it, adding blue ribbon to hang the ornament from the branch.

I'll be back next time with more Christmas cards. 


Supplies for card 1:
Ink - blue alcohol inks
Paper - yupo, white cs
Size - A2
Accessories - gold foil, flower stems die, Lil Inkers stitched oval die

Supplies for card 2:
Stamps - Rubbernecker Hanukkah sentiment
Ink - ColorBox True Blue
Paper - silver glitter, white, and grey cs
Size - A2
Accessories - Paper Rose Star of David ornament die, Sizzix branch die, Spellbinders rectangle die, clear embossing powder, blue ribbon


Sunday, 28 May 2023

Ink Blending on Coloured Cardstock

Our Group of Seven Cardmakers technique for May was ink blending on coloured cardstock.  It's a great easy technique to add extra interest to coloured cardstock.  We used a video called "Be Bold and Add Drama to Your Cards".

I ended up making three cards while practising the techniques, two for Hannukah and one for Christmas.

For both of these cards, I used a lighter blue cs and a slightly darker shade of blue ink for blending around the edges.  The images are heat embossed in silver and the panels are bordered in silver.  On the first card I added some water splatters as well as the white splatters, but on the second, I just did white splatters.

Here's the Christmas card:

I did this first on a darker red cs but the ink blending didn't show up enough so I redid it using a lighter red cs.  Gold heat embossing, gold splatters, and a gold card base tied it all together.

These really are quick and easy cards to make so I'm sure I'll be using the technique again.  My only piece of advice to those of you who want to try it is to make sure your coloured cs is light enough to leave some contrast with your ink blending.

Head over to Group of Seven for more information and samples from the rest of the group.  Feel free to link up any cards you make using the technique but just be aware we are not a challenge and don't promise to comment on all of your cards.


Supplies for Hanukkah cards:
Stamps - SU Jewish Celebrations
Ink - Versamark, Distress Faded Jeans
Paper - white, blue, silver cs
Size - 5.25" square
Accessories - TH silver embossing powder, white paint


Supplies for Christmas cards:
Stamps - Penny Black
Ink - ColorBox gold, Distress Aged Mahogany
Paper - red, black, gold cs
Size - A2
Accessories - TH gold embossing powder, gold paint

Wednesday, 10 July 2019

Rainy Day Card-making

It's raining so my plans to garden have been squashed.  But a good time to get some cards made!

Here's one for the Less is More "Celebrations" challenge, using their suggestion that we get some cards done for the December holidays.


I always need a few Hanukkah cards so made one of those.


There is a SCS tutorial for making the paper star here.  I used a lovely double-sided decorative paper I've had in my stash for ages.  I topped it with a silver glitter die cut Star of David and added it to a plain white card base with a heat embossed sentiment.

I might make a couple more to use up more dp!!


Supplies:
Stamps - SU sentiment
Ink - ColorBox silver
Paper - white cs, patterned paper, silver glitter cs
Size - A2
Accessories - silver embossing powder, SSS Star of David die