A blog devoted to the cards I make in my tiny upstairs space. When my sister stays there, she calls it an "artist's garret". I'm not an artist, but am an enthusiastic cardmaker - hence the title "Cardmaker's Garret".
___________________________________________________________________________________________
Showing posts with label Hanukkah. Show all posts

Friday, 28 November 2025

Stencilling with Mica Powders

This month, the Group of Cardmakers are experimenting with stencilling with mica powders.  Some of them will work without a binding agent.  Others need something like Heat & Stick powder to get them to adhere.  I tried both.

First of all, with the binding agent, in this case SU Heat & Stick powder.  

I pressed Versamark ink through my holly stencil, removed the stencil, then sprinkled the card panel with Heat & Stick, and used a heat tool to melt powder.  I washed and dried the stencil, placed it back over the image, and brushed green Pearl-Ex over it.  I die cut the best section of it with a label die.  I had some green glitter cs that matched the Pearl-Ex really well so cut the next size up of the label die set and bordered it with that and then put it on a dry embossed background.  Added a sentiment on a banner and red gemstones for the berries.

I then used a different holly stencil on black cs but with Perfect Pearls which work without a binding agent.

Like the first card, I pressed Versamark over the stencil, washed and dried the stencil, replaced it over the image, and brushed green Perfect Pearls over it.  A Swiffer cloth removes any excess.  Trimmed the panel with another label die and popped it up on fun foam on a panel embossed with another holly embossing folder.  I used a Lavinia stick-on sentiment on this one.  And again red gemstones for berries.

There is quite a difference between the two in terms of texture.  The use of Heat & Stick results in a noticeably textured finish whereas the mica powders that don't require Heat & Stick have a very flat, very smooth, and more pearlescent finish.

I went on to make a third card.  This one uses Heat & Stick and LuminArte mica powder on black cs. 

I kept the whole panel as a background and bordered it with silver glitter cs.  I die cut a Star of David out of the same silver glitter cs and also out of scrap cs and glued them together for more dimension.  Added it to the background, along with a strip of fancy ribbon that has six-pointed stars to tie in with the Star of David.  I put the Happy Hanukkah sentiment inside as I didn't want the front to be more cluttered.

I find the black background on the above Hanukkah card a bit heavy so I made one more with the same stencil on a white cs.  Again it uses the Heat and Stick, this time with a lighter blue mica powder made by Arteza.

I trimmed it down to a square, topped it with a die cut menorah in silver and gold glitter cs, and a small sentiment heat embossed in silver.  It's on a white shimmer card base. 

I think I have a strong preference for doing this on a white background rather than a black one.  Please let me know in the comments which you prefer! 

We'd love to see anything you might make using stencilling with mica powders.  Let us know if you have any hints for us.  There are more examples and more detailed instructions over at Group of Cardmakers. 


Supplies:
Stamps - unknown sentiments
Ink - Versamark, Memento Cottage Ivy
Paper - white and black cs, silver glitter cs, green glitter cs, gold glitter cs, white shimmer cs
Size - A2, last one 4.75" square
Accessories - SU Heat & Stick powder, green Pearl Ex powder, green Perfect Pearls powder, Dutch Iris LuminArte mica powder, pale blue Arteza mica powder, Penny Black holly stencil, SSS Holiday greenery stencil. Spellbinders label dies, sentiment banner die, Sizzix holly embossing folders, fun foam, red gemstones, SSS Star of David die, silver ribbon, Neat and Tangled star stencil, Spellbinders rectangle and square dies, silver embossing powder, PTI menorah die

Tuesday, 21 October 2025

More Pink for Jingle Belles and a Hanukkah Card

I really admire Stef and Lauren of Jingle Belles for running their Pink Christmas challenge every year to raise money for breast cancer research.  It's a challenge for me for sure as I struggle with using non-traditional colours on my Christmas cards.  But I persevered and this year I made two pink Christmas cards (the other was posted in my previous post).  Here's the second:

This one has a real old rose shade of pink.  I used a piece of patterned paper for the background and then chose the closest shade of pink from amongst the several different shades of pink glitter cardstock that I have.  I die cut the poinsettia out of it once, and then cut it twice more out of scrap cs, then glued them together and added them to the patterned paper.  I used a very pale pink/grey shade of cs for the base and for the sentiment square.

My second card today is for Inkspirational - it wants to see a seasonal card (a card for one of the occasions in one of the seasons).  I chose Hanukkah for a change from Christmas cards.

There is a SCS tutorial for making the paper star here.  I used a lovely double-sided decorative paper I've had in my stash for ages.  I topped it with a silver glitter die cut Star of David and added it to a plain white card base with a heat embossed sentiment.

One more thing - few weeks ago, I posted this card:

In my post (see here), I mentioned not being that happy with the card.  A couple of people offered suggestions in the comments so I looked at it again and decided to add a green frame around the stencilling.  I cut a square out of the same green shimmer cs as the border layer and then used the original inverted scallop die to cut out the centre of the green square.  I glued it over the white layer.  Here's the result:

I was pretty happy with the results so I'll put the card in my fundraiser sale and see if it sells!


Supplies for card 1:
Stamps - small noel
Ink - Distress dark pink
Paper - dp, pink glitter cs, light pink/grey cs
Size - A2
Accessories - Penny Black poinsettia die, small square die

Supplies for card 2:
Stamps - SU sentiment
Ink - ColorBox silver
Paper - white cs, patterned paper, silver glitter cs
Size - A2
Accessories - silver embossing powder, SSS Star of David die

Sunday, 28 September 2025

Inlaid Die Cuts

For September, the Group of Cardmakers is making cards using inlaid die cuts.  I love doing jigsaw puzzles, so I really enjoy this technique!

First up, a poinsettia:

I die cut the poinsettia twice, once out of gold cs and once out of white.  I painted the flower part of the white one with a couple of shades of red Distress inks.  I popped the flower petals out of the gold one, then glued the rest to a piece of white cs, and then glued the painted petals into their places.  Added a red sentiment, trimmed with a square die, and attached it to a red card base.

I went with an ornament die for my second card:

I used a two-part die for this one.  There is a solid ornament and an inner circle with the holly flourishes.  I cut the solid one out of blue shimmer cs and out of scrap cs.  I then laid the inner circle die over the blue shimmer one and cut out the flourishes.  I cut the inner circle die once more out of dp.  I glued the remaining border of the blue shimmer one onto the solid one cut from the scrap cs and then glued the dp filler pieces into the outline.  A bit of ribbon to hang the ornament and a blue shimmer "joy" finished it off.

I wanted to see the difference between inlaying the pieces flush with the outline (as in the ornament) and inlaying the pieces with the outline raised from them so I went on to make this third card.

I die cut the Star of David three times, once out of scrap cs, once out of silver cs, and once out of a pale blue / silver flecked dp.  I needed something to glue it all on to so cut a circle out of scrap cs.  I glued the Star of David outline from the scrap cs onto the solid circle, then inlaid the dp into it.  Then glue the silver cs outline on top.  Added it to a dry embossed panel, along with a heat embossed sentiment.

I like both the flush inlaid look and the one with the raised outline so will use both methods in future.  Check out some more examples and some links to instructional videos over at Group of Cardmakers!

My second card is also being linked up at Try It On Tuesday "Pretty Papers" - the paper I used for the inset part of the die is one of the prettiest I have.

Pop this on your blog to find us fast! 


Supplies for card 1:
Stamps - Hero Arts sentiment
Ink - various red Distress inks
Paper - red, gold, and white cs
Size - 4.75" square
Accessories - Spellbinders poinsettia die

Supplies for card 2:
Paper - white shimmer and blue shimmer cs, TPC dp, ribbon
Size - 5.25" square
Accessories - ornament die, PB Joy die

Supplies for card 3:
Stamps - SU sentiment
Ink - Versamark
Paper - white and silver cs, pale blue with silver flecks dp
Size - A2
Accessories - PTI star of David die, Cuttlebug embossing folder, Stampendous Vintage Blue embossing tinsel, sentiment strip die, dimensionals


Thursday, 28 March 2024

Die Eclipse for Hanukkah and Sympathy

The Group of Seven Cardmakers are trying a technique called Cover Die Eclipse.  The technique is detailed in Gina K's video here.  


 Here's the technique:

  • Using your Misti, stamp two card fronts with the same large image.  I used a menorah stamp with bright blue ink.
  • Using a cover die (I used one that was not necessarily meant for a Hanukkah card but has six-pointed stars in it so it works really well for Hanukkah), cut ONE of the stamped panels. 
  • Glue the stamped cover die cut onto your second stamped panel, being sure to perfectly line up the stamped patterns.

I finished the card by bordering with silver shimmer cs and adding a sentiment tag also bordered with silver.

I don't have any other cover dies so decided to try the technique using a Tim Holtz corner die for my second card.


I stamped the branch image in black on two pieces of white cs and cut one panel with the corner die.  For this card, I wanted more dimension so cut two more plain white panels with the corner die.  I glued them together and then glued the stamped die cut panel on top of them.  Then glued it to my uncut stamped panel, lining up the image carefully.  I bordered with black and added a black die cut sentiment.

The conclusion is that some images work better with a few die cut layers while others look better with just one.  Check out what the other member of the Group of Seven cardmakers did with this technique.


Supplies for card 1:
Stamps - SU menorah and sentiment
Ink - Distress Blueprint Sketch
Paper - white and silver cs
Size - A2
Accessories - Neat and Tangled cover plate die

Supplies for card 2:
Stamps - Impression Obsession branch
Ink - Versafine Clair Nocturne
Paper - white and black cs
Size - A2
Accessories - Tim Holtz corner die, Dee's Distinctively sentiment die

Tuesday, 26 December 2023

Celebrations

For the Stencil Fun challenge "Christmas" and the Inkspirational challenge "Celebrate", I have this card:

I did the background with red and green acrylic paints and a poinsettia stencil on a gelli plate.  Trimmed it and topped it with the Merry Christmas sentiment frame die cut and bordered it with dark red cs.

My Time to Craft wants to see December or January holidays.  I have a Hanukkah card:

I sprinkled blue Brushos on mixed media cs, spritzed with water and let it run to make a free-form background. I stamped and heat embossed the sentiment, then trimmed the panel, popped it up on fun foam, and added the silver die cut Star of David.

LOVE to have you SHARE our BADGE   

My Time To Craft!
I hope you all had a good holiday, whatever one you celebrate!


Supplies for card 1:
Paper - mixed media, white, and dark red cs
Size - A2
Accessories - gelli plate, red and green acrylic paints, Imagination Crafts poinsettia stencil, Simon Says Stamp sentiment frame

Supplies for card 2:
Stamps - SU sentiment
Ink - ColorBox silver
Paper - white, mixed media, and silver cs
Size - A2
Accessories - PTI die, silver embossing powder, blue Brushos, fun foam

Sunday, 10 December 2023

A Notecard and a Hanukkah Card

Starting off with a non-Christmas card - a note card for a set of blank cards that I'm making for a friend.  It's for the Color Throwdown Challenge "cobalt blue, aqua, and gold".

 I dropped alcohol inks in shades of blue onto yupo paper. I rubbed some gold foil onto the sticky bits of the AI.  I die cut the white stems, glued it onto the AI / yupo piece and set it inside a stitched oval opening. 

Next before I get back to Christmas cards, I've got a Hanukkah card for the Tic Tac Toe Challenge.  I chose the diagonal line that says December holiday, ornament, die cut.

I die cut the Star of David ornament out of silver glitter cs and again out of a scrap of white cs, and glued them together for more dimension. The branch is die cut from grey cs. The sentiment is stamped in blue and heat embossed, then die cut with a rectangle die. I glued the branch and ornament to it, adding blue ribbon to hang the ornament from the branch.

I'll be back next time with more Christmas cards. 


Supplies for card 1:
Ink - blue alcohol inks
Paper - yupo, white cs
Size - A2
Accessories - gold foil, flower stems die, Lil Inkers stitched oval die

Supplies for card 2:
Stamps - Rubbernecker Hanukkah sentiment
Ink - ColorBox True Blue
Paper - silver glitter, white, and grey cs
Size - A2
Accessories - Paper Rose Star of David ornament die, Sizzix branch die, Spellbinders rectangle die, clear embossing powder, blue ribbon


Thursday, 30 November 2023

Under the Wire Again

There are so many great challenges out there but sadly I miss some of the deadlines and then there are these where I just get a card posted in time.

For Christmas Cards All Year Round "Holiday Song or Carol", I chose O Little Town of Bethlehem:


Stamped, coloured with coloured pencils, and a strip of gold tape added down one side for a bit of embellishment.

The Christmas Kickstart Challenge wants "Christmas not as we know it" so I went with some very different looking snowmen:


My friend Bonnie kindly stamped off a few of this image and sent them to me.  This is a variation on one I posted a couple of months ago.  Stamped, watercoloured, bordered in black.

And a threefer today.  Inkspirational wants a card for any of the seasonal holidays so I am posting a Hanukkah one for this one.


I created the focal image by stamping and heat embossing the menorah in silver and die cutting with a circle die.  The background has a flourish and sentiment stamped and heat embossed in blue.   I embellished with little silver jewel stickers on the flourish.

Christmas Crafts All Year 'Round


Supplies for card 1:
Stamps - Woodware Peaceful Night
Ink - Versafine Clair Nocturne
Paper - white cs
Size - 7.25x3.75"
Accessories - coloured pencils, gold tape

Supplies for card 2:
Stamps - Rubber Cottage "Snowflakes"
Ink - Versafine Clair Nocturne
Paper - watercolour paper, off white and black cs
Size - A2
Accessories - watercolour paints

Supplies for card 3:
Stamps - Hero Arts Happy Hanukkah, SU flourish, Rubbernecker Hanukkah sentiment frame
Ink - ColorBox True Blue and Silver
Paper - white cs
Size - A2
Accessories - clear and silver embossing powders, Dazzles silver jewel stickers, Spellbinders circle and rectangle dies

Sunday, 28 May 2023

Ink Blending on Coloured Cardstock

Our Group of Seven Cardmakers technique for May was ink blending on coloured cardstock.  It's a great easy technique to add extra interest to coloured cardstock.  We used a video called "Be Bold and Add Drama to Your Cards".

I ended up making three cards while practising the techniques, two for Hannukah and one for Christmas.

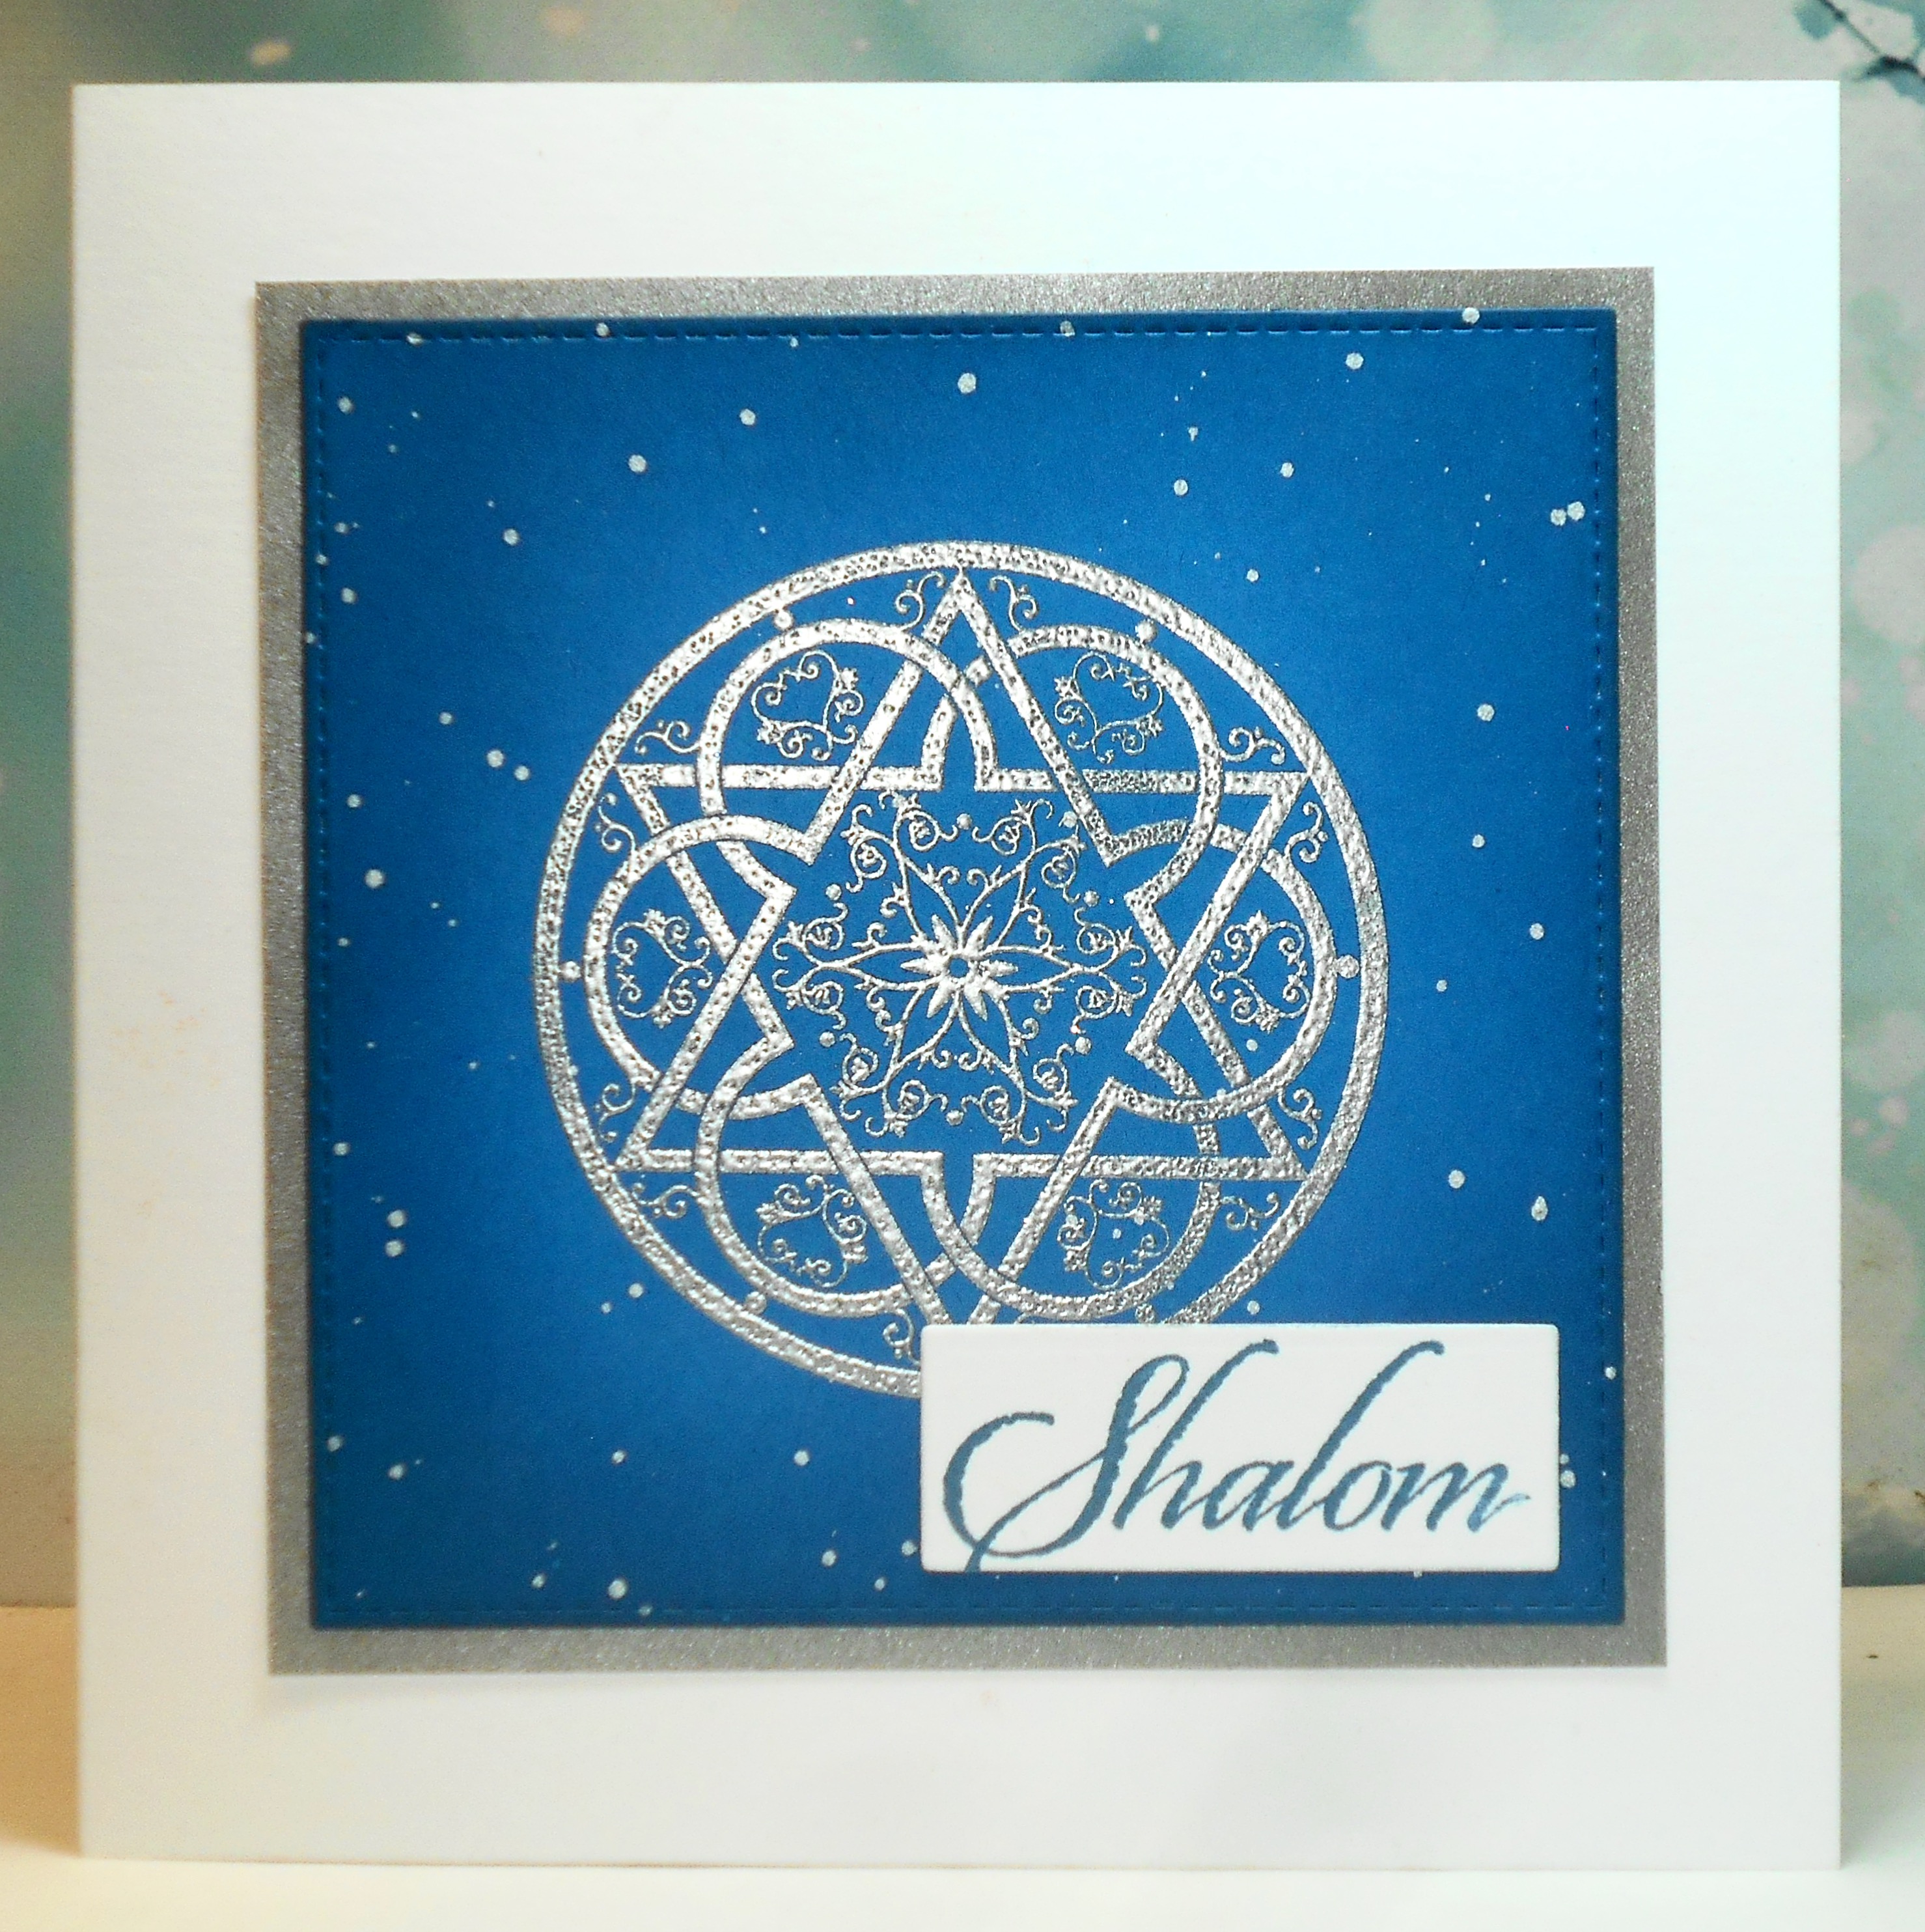
For both of these cards, I used a lighter blue cs and a slightly darker shade of blue ink for blending around the edges.  The images are heat embossed in silver and the panels are bordered in silver.  On the first card I added some water splatters as well as the white splatters, but on the second, I just did white splatters.

Here's the Christmas card:

I did this first on a darker red cs but the ink blending didn't show up enough so I redid it using a lighter red cs.  Gold heat embossing, gold splatters, and a gold card base tied it all together.

These really are quick and easy cards to make so I'm sure I'll be using the technique again.  My only piece of advice to those of you who want to try it is to make sure your coloured cs is light enough to leave some contrast with your ink blending.

Head over to Group of Seven for more information and samples from the rest of the group.  Feel free to link up any cards you make using the technique but just be aware we are not a challenge and don't promise to comment on all of your cards.


Supplies for Hanukkah cards:
Stamps - SU Jewish Celebrations
Ink - Versamark, Distress Faded Jeans
Paper - white, blue, silver cs
Size - 5.25" square
Accessories - TH silver embossing powder, white paint


Supplies for Christmas cards:
Stamps - Penny Black
Ink - ColorBox gold, Distress Aged Mahogany
Paper - red, black, gold cs
Size - A2
Accessories - TH gold embossing powder, gold paint

Tuesday, 3 August 2021

Christmas (or could be Hanukkah) Decorations

August's host of CAS Christmas is Cathy and she's asking for decorations on our cards.

After I made my card, I thought the six-pointed star decorations done in blue could make either a Christmas or a Hanukkah card so I used a holiday-neutral sentiment!


I die cut the detailed ornament top die three times and glued them together. I cut the other non-detailed die out of a piece of white shimmer cs to get the openings for the coloured cs layer to show through. I put some acetate on the back of the white layer, glued on the three layers of ornament detail, and then filled in all the little spaces with Glossy Accents, adding enough Glossy Accents to fill in the gaps up to the top of the die. I then added that whole layer to aqua/turquoise glitter cs with foam tape so that there is the illusion of looking through glass. Kind of fiddly, but worth the effort!

Please come and join us at CAS Christmas!  There is lots of inspiration from this month's wonderful Guest Designer, Lucie, and the rest of the Design Team.

CAS Christmas


Supplies:
Stamps - Rubber Soul sentiment
Ink - ColorBox Cyan
Paper - white shimmer and aqua/turquoise glitter cs
Size - A2
Accessories - Memory Box ornaments die, Glossy Accents, clear embossing powder, fun foam

Tuesday, 8 October 2019

Hanukkah and a Creature

Jingle Belles wants to see a Hanukkah card instead of a Christmas one.  Here's what I made:


I sprayed a piece of mixed media cs with blue spray for my background and added a silver glitter die cut and silver heat embossed sentiment.

I trimmed the panel with a stitched rectangle die and popped it up on fun foam.


And then over at Addicted to CAS, the challenge is "Creature".


A very CAS card for my sister who is a fellow dog lover:


A simple heat embossed image and sentiment on a deckle edged rectangle, popped up on fun foam.

I'll be back next time with some Christmas cards.  Thanks for stopping by.


Supplies for card 1:
Stamps - SU sentiment
Ink - ColorBox silver
Paper - white and mixed media cs, silver glitter cs
Size - A2
Accessories - blue spray, PTI Star of David die, Lil Inker stitched rectangle die, silver embossing powder, fun foam

Supplies for card 2:
Stamps - Raintree dog stamp, TH sentiment
Ink - Versafine Onyx Black
Paper - white cs
Size - A2
Accessories - clear embossing powder, Spellbinders deckle edge rectangle die, fun foam