A blog devoted to the cards I make in my tiny upstairs space. When my sister stays there, she calls it an "artist's garret". I'm not an artist, but am an enthusiastic cardmaker - hence the title "Cardmaker's Garret".
___________________________________________________________________________________________

Tuesday 31 October 2023

Christmas Animals and Snowflakes

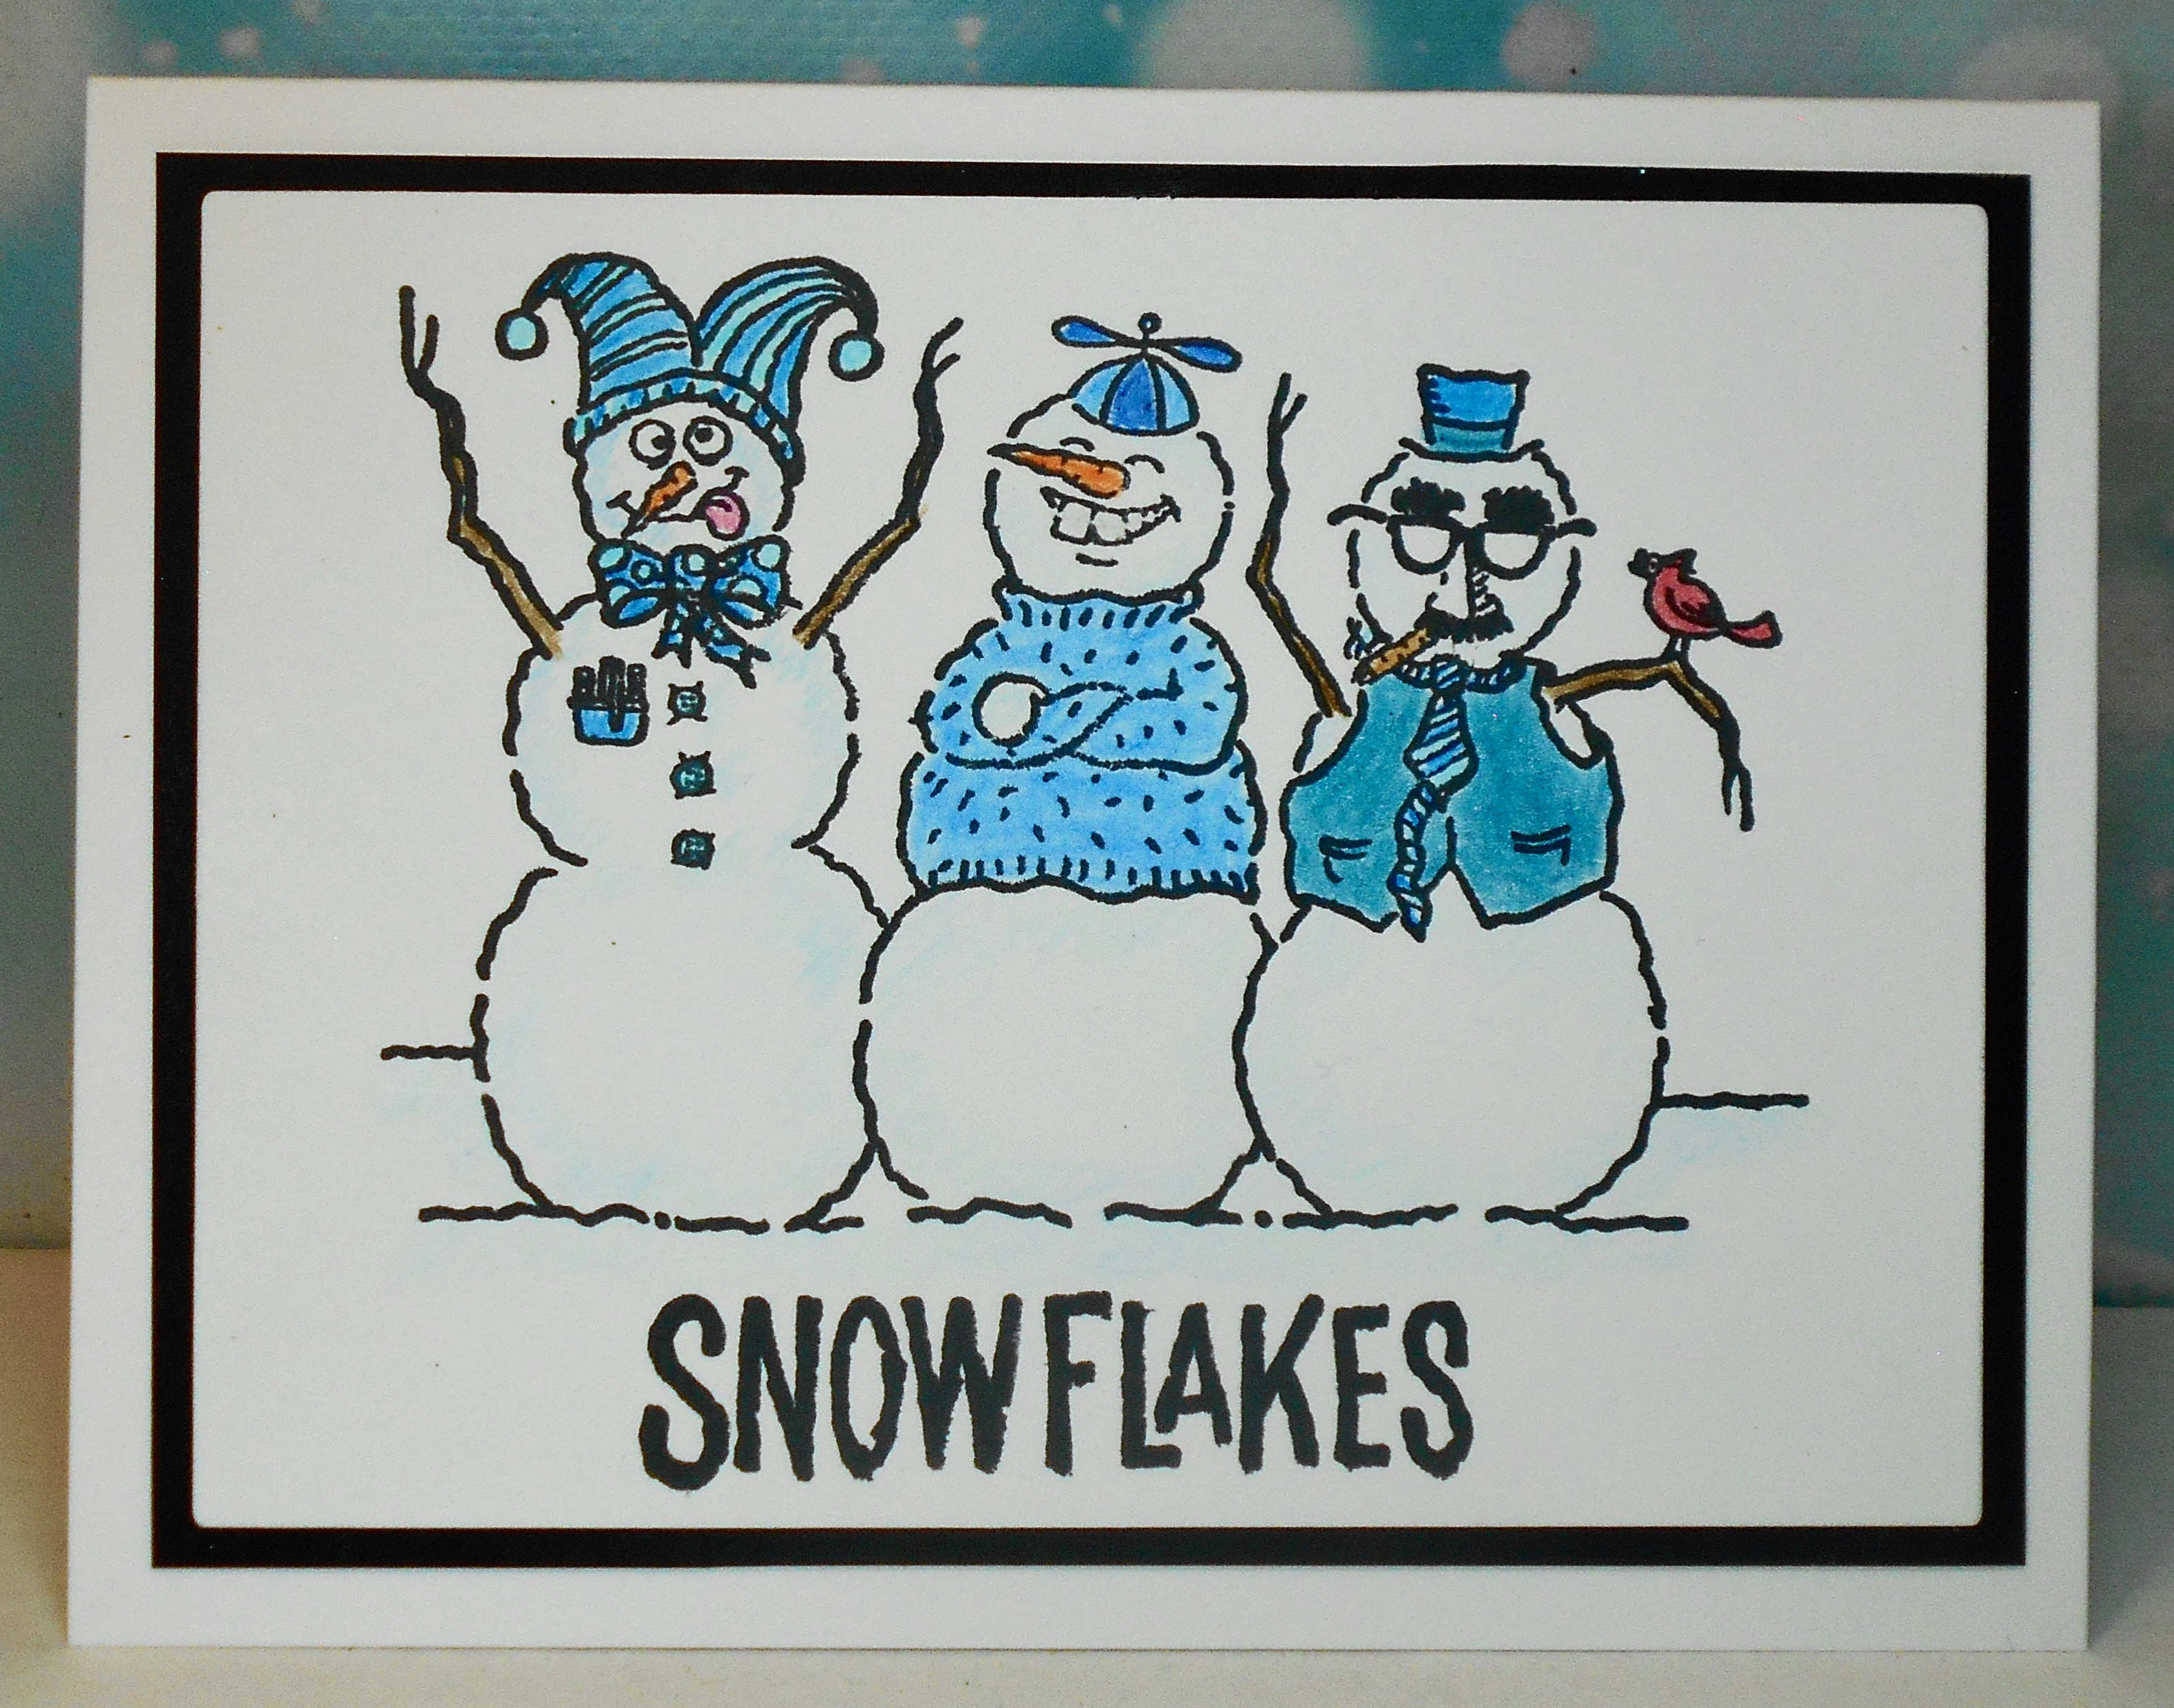
Sneaking in under the wire with a card for Jingle Belles "Christmas Creatures" and Christmas Kickstart "Cat Lovers Challenge".  I love both cats and dogs so have both in this image:


The image is stamped and coloured with coloured pencils, bordered with brick red cs, and layered on a dry embossed brick wall to tie in with the bricks in the image.  I went over all the little snowflakes with a glue pen and added glitter (but it doesn't show up in the photo).

And a card with my interpretation of the Inkspirational Challenge Word Prompt "Cold":

I used an old technique of getting a sort of batik look on the background. First I randomly stamped the snowflakes with Versamark ink to fill the page, then heat embossed with clear embossing powder. The next step is to make several folds in all different directions. The embossing powder cracks a bit when folding, but that is part of the technique. I sponged over the whole piece with various blue Distress inks. The fold lines are highlighted after colour is sponged on top. Once I finished sponging, I wiped down my card panel with a paper towel to remove any ink that would have stuck to the embossed image. This made the snowflakes even brighter. 


Supplies for card 1:
Stamps - Crafters Companion image, SSS sentiment
Ink - Versafine Clair Nocturne
Paper - white cs, brick red shimmer cs
Size - A2
Accessories - coloured pencils, Sizzix brick embossing folder, glitter

Supplies for card 2:
Stamps - Visible Image snowflakes
Ink - various blue Distress inks, ColorBox white
Paper - white cs
Size - A2
Accessories - clear embossing powder, SSS Snowy Greetings die set

Saturday 28 October 2023

Stencilling over Heat Embossing

The Group of Seven Cardmakers are trying out a technique seen in a Gina K 5 minute card video from a couple of years ago.  It's called Stencilling over Heat Embossing.  I'm definitely not as fast as Gina K as each card took me quite a bit longer than 5 minutes!  But I do like the end results!

First up, a card with a holly theme:


I stamped and heat embossed the tiny snowflakes background stamp.  Then laid the stencil on top and sponged over with two shades of green ink.  After removing the stencil, I gently wiped a paper towel over the panel to remove any ink sitting on top of the heat embossed snowflakes.  Bordered with green shimmery cs, added a sentiment stamped on a separate strip of white cs, and embellished with red stick-on pearls for the berries.

I did a second Christmas card with the same technique:


Because my stencil was larger, I went with a more detailed background stamp - in this case, a collage of Christmas greetings.  I used a poinsettia stencil made for me by my friend Loll on her Cricut.  I used two shades of red ink, trimmed it down, bordered with black, added a sentiment heat embossed on black, and embellished first with gold Stickles (but I didn't like the look so dabbed most of it off) and then with yellow Liquid Pearls.

There are lots more examples from the Group of Seven Cardmakers over on our group blog.  Feel free to make a card using the technique and link it up there, but be aware it's not a challenge blog - the entries are for sharing and inspiration only.


Supplies for card 1:
Stamps - Rubbernecker snowflake background, A Muse sentiment
Ink - Versamark, Distress Rustic Wilderness and Evergreen Bough
Paper - green shimmer and white cs
Size - 6x4.25"
Accessories - Dreamweaver holly stencil, white embossing powder, red pearls

Supplies for card 2:
Stamps - unknown Christmas text background stamp, Make an Impression sentiment
Ink - Versamark, Distress Candied Apple and Festive Berries
Paper - white and black cs
Size - A2
Accessories - white embossing powder, homemade stencil, gold Stickles, buttercup Liquid Pearls


Monday 23 October 2023

A Swag with Pine Cones and Christmas Cups

For Sparkles Christmas Challenge "Christmas Flowers or Foliage" and for My Time to Craft Christmas "Pine Cones":


The image is coloured with coloured pencils, it's trimmed with quite a bit of white border around it, then thinly matted with green, and added to a red card base.  I put the sentiment strip on a diagonal so that it stayed within the green mat.

My second card is for 52 Christmas Card Throwdown "Christmas Cup" and Sweet Stampin' "Tartan or Plaid".

When I was tidying my craft room recently, I came across some stamped, heat embossed, and die cut Christmas cups from an old SU set.  So when I saw the 52CCT challenge, I had the perfect opportunity to use them.  To fulfill the tartan or plaid challenge for Sweet Stampin', I pulled out some tartan ribbon and ran it across my focal panel to represent a Christmas table cloth for my cups to sit on.

Please take a copy of our badge  

 Sweet Stampin' Challenge BlogMy Time To Craft Christmas!


Supplies for card 1:
Stamps - Serendipity Pine Swag, Mama Elephant sentiment
Ink - Versafine Clair Nocturne
Paper - white, red, and green cs
Size - 6x4.25"
Accessories - coloured pencils

Supplies for card 2:
Stamps - Paper Smooches sentiment, SU cups and steam
Ink - Versafine Clair Nocturne, red and green pigment inks
Paper - white cs
Size - 5.25" square
Accessories - tartan ribbon, clear embossing powder, Lil Inkers stitched square die, foam dots


Wednesday 18 October 2023

An Autumn Bunny and a Reindeer in Red and Brown

It's poured with rain all day today so I made two more cards.  First up is an autumn one to send to my sister who has been spotting wild bunnies in the ravine behind her house.  It's for The Paper Players "Signs of Autumn" - nothing like a bare tree with one final leaf clinging to it and patches of mushrooms popping up to signify autumn.  And also for The Four Seasons Challenge "Anything Goes Fall" and Simply CAS "Autumn".

I stamped the images, stupidly forgetting to use red to stamp the leaf so went over it with a red marker (that didn't cover up the black stamping very well). Then I sponged some blue and green around the images. I stamped my sentiment and smudged it, so restamped it on a scrap of cs and die cut it with a label die.  

Then a card for 52 Christmas Card Throwdown "Brown and Red":

I stamped the collage image in brown - thank goodness for my MISTI as it took several stampings to get a good impression.  After restamping so many times, I lost the definition in the reindeer's eyes, so added a bit of black marker to the eyes and a bit of white gel pen above and below them.  I trimmed it with a narrow border beyond the image and layered it on a piece of red corrugated card stock.

I'd never used either the stamp or red corrugated card stock before so I'm linking it up to NBUS as well.

Please Grab Our Badge Please Help Us Spread the Word ...    Grab our badge to display on your blog.


Supplies for card 1:
Stamps - Lavinia images, unknown sentiment
Ink - Versafine Clair Nocturne, Distress Speckled Egg, Bundled Sage, and Old Paper
Paper - white cs
Size - A2
Accessories - red marker, Spellbinders label die

Supplies for card 2:
Stamps - Magenta
Ink - Archival Potting Soil
Paper - off white cs, DCWV red corrugated cs
Size - A2
Accessories - black marker, white gel pen


Tuesday 17 October 2023

Pink Poppies, Pink Christmas

It's Breast Cancer Awareness Month so I need to be sure to get some pink in my card making.

My Time to Craft's challenge is "In the Garden" and I grow a lot of varieties of poppies (Oriental, Welsh, California, Icelandic) in my garden so I've done a card with pink poppies:

A very CAS card - just stamped and watercoloured, trimmed with a stitched die, bordered in black.  I'm trying to work on my shading when I watercolour and for once, was happy with the results in the flowers.

And one of my favourite Christmas card challenges, Jingle Belles, always does a "Pink Christmas" challenge.  The wonderful Stephanie and Lauren who run the challenge each donate $2 to breast cancer research for every card linked up.  Here's my pink poinsettia:

The poinsettia is another one of my attempts at colouring embossed images.  I started by using a 3D embossing folder with watercolour paper.  Then I tried the watercolouring technique in this video using a couple of shades of pink.  My results are not nearly as good as the person in the video's results, but once I trimmed it, bordered it with lovely pink glitter cs, added a matching die cut sentiment, and embellished with a bit of Stickles in the centre.

My Time To Craft!


Supplies for card 1:
Stamps - Clearly Besotted Poppu
Ink - Versafine Clair Nocturne
Paper - watercolour paper, black and off white cs
Size - A2
Accessories - watercolour paints, Lil Inker stitched rectangle die

Supplies for card 2:
Paper - watercolour paper, pink glitter cs, off white cs
Size - 4.5" square
Accessories - Nellie's Choice slimline poinsettia embossing folder, watercolour paints

Saturday 14 October 2023

Snowy Farm

Peace on Earth challenge has a mood board featuring pick-up trucks.  I don't have any pick-up truck stamps but was inspired by the farms in the backgrounds of the mood board images - especially the red barns.  So I got out a very old Northwoods stamp - one of the first Christmas stamps I ever bought - and created this card:

It's coloured with coloured pencils and then I went over all of the snowy parts with a Quickie glue pen and added glitter - love the sparkle in real life (the photo doesn't do it justice).  A simple sentiment and black border and it was done.

Here's the Peace on Earth mood board:

There's lots more inspiration for you over at Peace on Earth, and we'd love to have you link up a card either inspired by the mood board or an "anything Christmas" card.


Supplies:
Stamps - Northwoods farm scene, PB sentiment
Ink - Versafine Clair Onyx Black
Paper - white and black cs
Size - A2
Accessories - coloured pencils, Quickie glue pen, glitter

Friday 13 October 2023

Another Black Cat and Some Inkblending

I'm posting cards for the two AAA challenges today as they are linking up and offering prizes as long as you make different cards for each challenge.  For AAA Birthday Challenge "Favourite Colours", I've used blue, grey, and black - most of my clothes are in those colours!  I still had the Lavinia black cat sitting on my desk so decided to make a another birthday card using it as I have a few friends who love cats.  I'm also entering it at the Crazy for Cat Challenge.  It seems quite appropriate to be posting a black cat card on Friday Oct 13!


I masked a outer edges of a square and a moon on white cs and then blended Faded Jeans and Chipped Sapphire over it.  Then I removed the mask and stamped the botanical images in Iced Spruce.  I stamped the cat (with him partly going out of the square) and the sentiment in black.    Trimmed with a stitched square die and popped the panel up on fun foam.

And for AAA Challenge "Ink Blending with 3 or more colours", I made this card:


I used various Distress inks to create an ink blended background.  I trimmed it down and then heat embossed the delphinium in white.  The butterflies are die cut from a piece that I smooshed with Distress Oxide inks. 


Supplies for card 1:
Stamps - Lavinia "Mooch", unknown botanical stamps and sentiment
Ink - Versafine Clair Nocturne, Distress Faded Jeans, Chipped Sapphire, and Iced Spruce
Paper - white cs   Size - 4.75" square
Accessories - Lil Inker stitched square die, fun foam

Supplies for card 2:
Stamps - Magenta delphinium, unknown sentiment (Rubbernecker?)
Ink - various Distress and Distress Oxide inks, ColorBox white, Ranger Archival Cobalt
Paper - white cs
Size - A2
Accessories - white embossing powder, Gina Marie small butterfly dies


Tuesday 10 October 2023

Frame with a Cat and Pink with a Horse


A non-Christmas twofer today!

Festive Friday is celebrating World Mental Health Day.  Though the card doesn't have to relate to mental health, it does have to have three things from their inspiration list.  I chose blue, green, and a frame.


I stamped various wildflower stamps in two shades of Distress green, the sentiment and the cat in black, then sponged some blue sky and a bit of green ground (the ground is mostly hidden by the frame). The frame is a pierced square frame die that I cut twice and glued together.

Double D's challenge is "Pink October" for Breast Cancer Awareness Month.

I would never in a million years opt to use pink as the background for this dramatic horse image, but I will need a card in a couple of weeks for one of the therapeutic riding instructors I volunteer with. She's moving back to New Zealand for a whole new phase in her life. Her favourite colour is pink and she also loves sparkle and glitter so I used some pink glitter cs as a border.

I made the background first by smooshing with 3 shades of pink Oxide inks on mixed media cs. Then stamped and heat embossed the horse image. I fussy cut the sections of the sentiment and added them to the image, and then bordered first with black, then with pink glitter cs.

 GRAB OUR BADGE!


Supplies for card 1:
Stamps - Lavinia cat, variours wildflowers, unknown sentiment
Ink - Versafine Clair Nocturne, various blue and green Distress inks
Paper - white cs
Size - 4.75" square
Accessories - MFT Pierced Square Frame die

Supplies for card 2:
Stamps - Visible Image horse, unknown sentiment
Ink - Versafine Clair Nocturne, Distress Oxide Picked Raspberry, Tattered Rose, and Spun Sugar
Paper - pink glitter, black, white, and mixed media cs
Size - 5.75" square
Accessories - clear embossing powder


Tuesday 3 October 2023

Another Santa Card and Some "Snowflakes"

Santa is always a great theme for Christmas cards so here's another one, this time for Christmas Cards All Year Round "For a Male" and Jingle Belles "A Christmas Story" (this card has as its sentiment the last line from Twas the Night Before Christmas and of course it has Santa flying away as he does at the end of the story).

I used a technique I learned from Karen Dunbrook of tearing many strips of scrap paper to use as masks, starting at the bottom with the first sponging of ink, and then moving up the card. It creates a beautiful cloudy sky. Once my background was dry, I stamped my images. Then once they were dry, I splattered with a bit of white acrylic paint. I mounted it on the card base and stamped the sentiment.

My second card today has some humour to it - a special request from one of my friends who comes to my Christmas card fundraiser sale (what he actually asked for were some "snarky" cards - not my style but this might please him).  It's for ABC Christmas Challenge "S for Snowman and T for Three of a Kind" - I've covered off both of them with my three snowmen all dressed in blue:


I saw this image on some cards my friend Bonnie made and she kindly stamped off a few for me and mailed them to me.   I watercoloured them, keeping them all dressed in blue so that they are more "Three of a Kind" for the challenge.  Then bordered with black cs before adding to the card base.


 Grab our badge!   


Supplies for card 1:
Stamps - Frantic Stamper Santa, Tim Holtz trees, Technique Junkies sentiment
Ink - Versafine Clair Nocturne, various mauve and blue Distress inks
Paper - white cs
Size - 6x4.25"
Accessories - white acrylic paint

Supplies for card 2:
Stamps - Rubber Cottage "Snowflakes"
Ink - Versafine Clair Nocturne
Paper - watercolour paper, off white and black cs
Size - A2
Accessories - watercolour paints