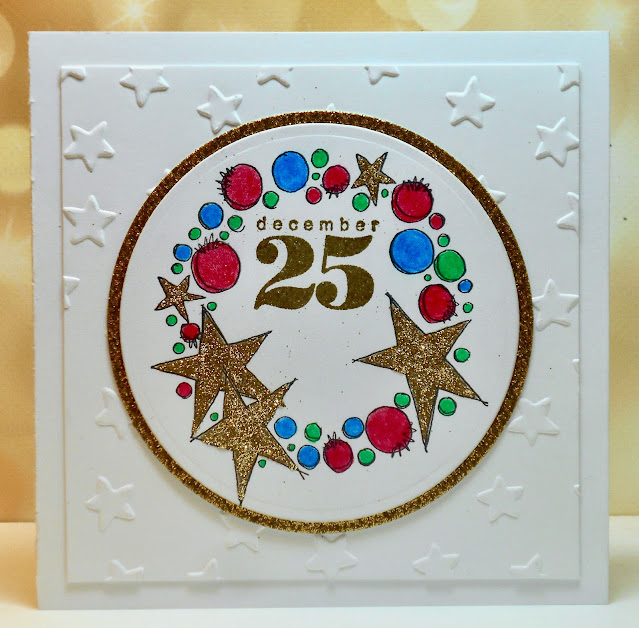
Our Group of Seven Cardmakers' zoom get together played with gilding flakes and embossing folders this month. We followed the technique in this video: Embossed Gilding Flakes by Technique Junkies.
After adhering gilding flakes to two 5.5x4.25" pieces pieces of cs covered in double sided tape, tried to run them through the embossing folder together back to back like in the video but found it was too tight for my Cuttlebug so had to run them one at a time - one to get the debossed impression, one to get the embossed impression.
I then tried to rub my Staz-On black pad over it but discovered it had dried out. So used Staz-On Ganache ink instead and got a nice rich brown that went well with the gilding flakes I'd used. I gently rubbed it over all of the raised parts on my two panels.
With my debossed one, I used the piece as a background for an autumn card as the colours really made me think of autumn leaves.
I die cut a bare branched tree out of cream cs thinking it would look good mounted directly on the gilding flakes panel but didn't like that so mounted it on a piece of copper shimmer cs. I trimmed the gilding flakes piece down a bit so that it could be bordered by the copper shimmer card base and added a cream embossed sentiment on brown cs.For my second card, I used the embossed side. I wanted to do something different (as opposed to using the panel as a background. More of the gold of the gilding flakes showed on this panel because there was less raised area rubbed with ink. So it seemed quite Christmasy.
I die cut a large ornament out of it and had enough left around the edge to die cut the thin frame die from SSS and the noel sentiment. I used a cream cs for the focal panel and card base, die cutting the thin frame out of the focal panel so that I could insert the gilded thin frame into it. I added a bit of metallic cord for hanging the ornament and also a little metallic cord bow.
It's a great technique that I will use again. I did find that the Staz-On stayed sticky for quite a while. One of our other Group of Seven members said she had better luck with Memento ink so I'll try it next time. Also I much prefer the embossed side (like my second card) as far more of the gilding flakes show. With the debossed side, I thought it was a bit of a waste to go over so much of the gilding flakes with ink and hide the lovely colours and shine of them.
Head on over to the blog post on Group of Seven Cardmakers to see more examples made by out group. If you try it out, feel free to link up your card for us to see, but please note, we're not a challenge blog and we don't guarantee we'll comment on your cards (though we often do!).
Supplies for card 1:
Stamps - unknown sentiment
Ink - Staz-On Ganache, Versamark
Paper - white cs, copper shimmer cs
Size - A2
Accessories - Cuttlebug embossing folder, Cosmic Shimmer Autumn Leaves gilding flakes, double sided adhesive sheet, Impression Obsession tree die, cream embossing powder
Supplies for card 2:
Ink - Staz-On Ganache
Paper - white cs
Size - A2
Accessories - Cuttlebug embossing folder, Cosmic Shimmer Autumn Leaves gilding flakes, double sided adhesive sheet, Spellbinders ornament die, TH noel die, SSS thin frames die, thin copper metallic cord


.jpeg)


.jpg)


.jpeg)


.jpeg)


