I live in Vancouver, Canada, and we get tons of chickadees here, but sadly no cardinals. Cardinals are the ultimate bird for Christmas cards so I always do some cards with them, but in honour of my local birds, I also do some with chickadees on them. Today I've got both to show you.
First up, cardinals:
I love this old Northwoods stamp and it works perfectly for some blank
gold cardbases I have. It's very basic card - stamped, coloured, and
sponged around the edges of the image. Then bordered with some red.
And a bit of glitter added to the snowy parts of the branches.
A blog devoted to the cards I make in my tiny upstairs space. When my sister stays there, she calls it an "artist's garret". I'm not an artist, but am an enthusiastic cardmaker - hence the title "Cardmaker's Garret".
___________________________________________________________________________________________
Saturday, 31 October 2015
Friday, 30 October 2015
Christmas Lights in a Snow Storm
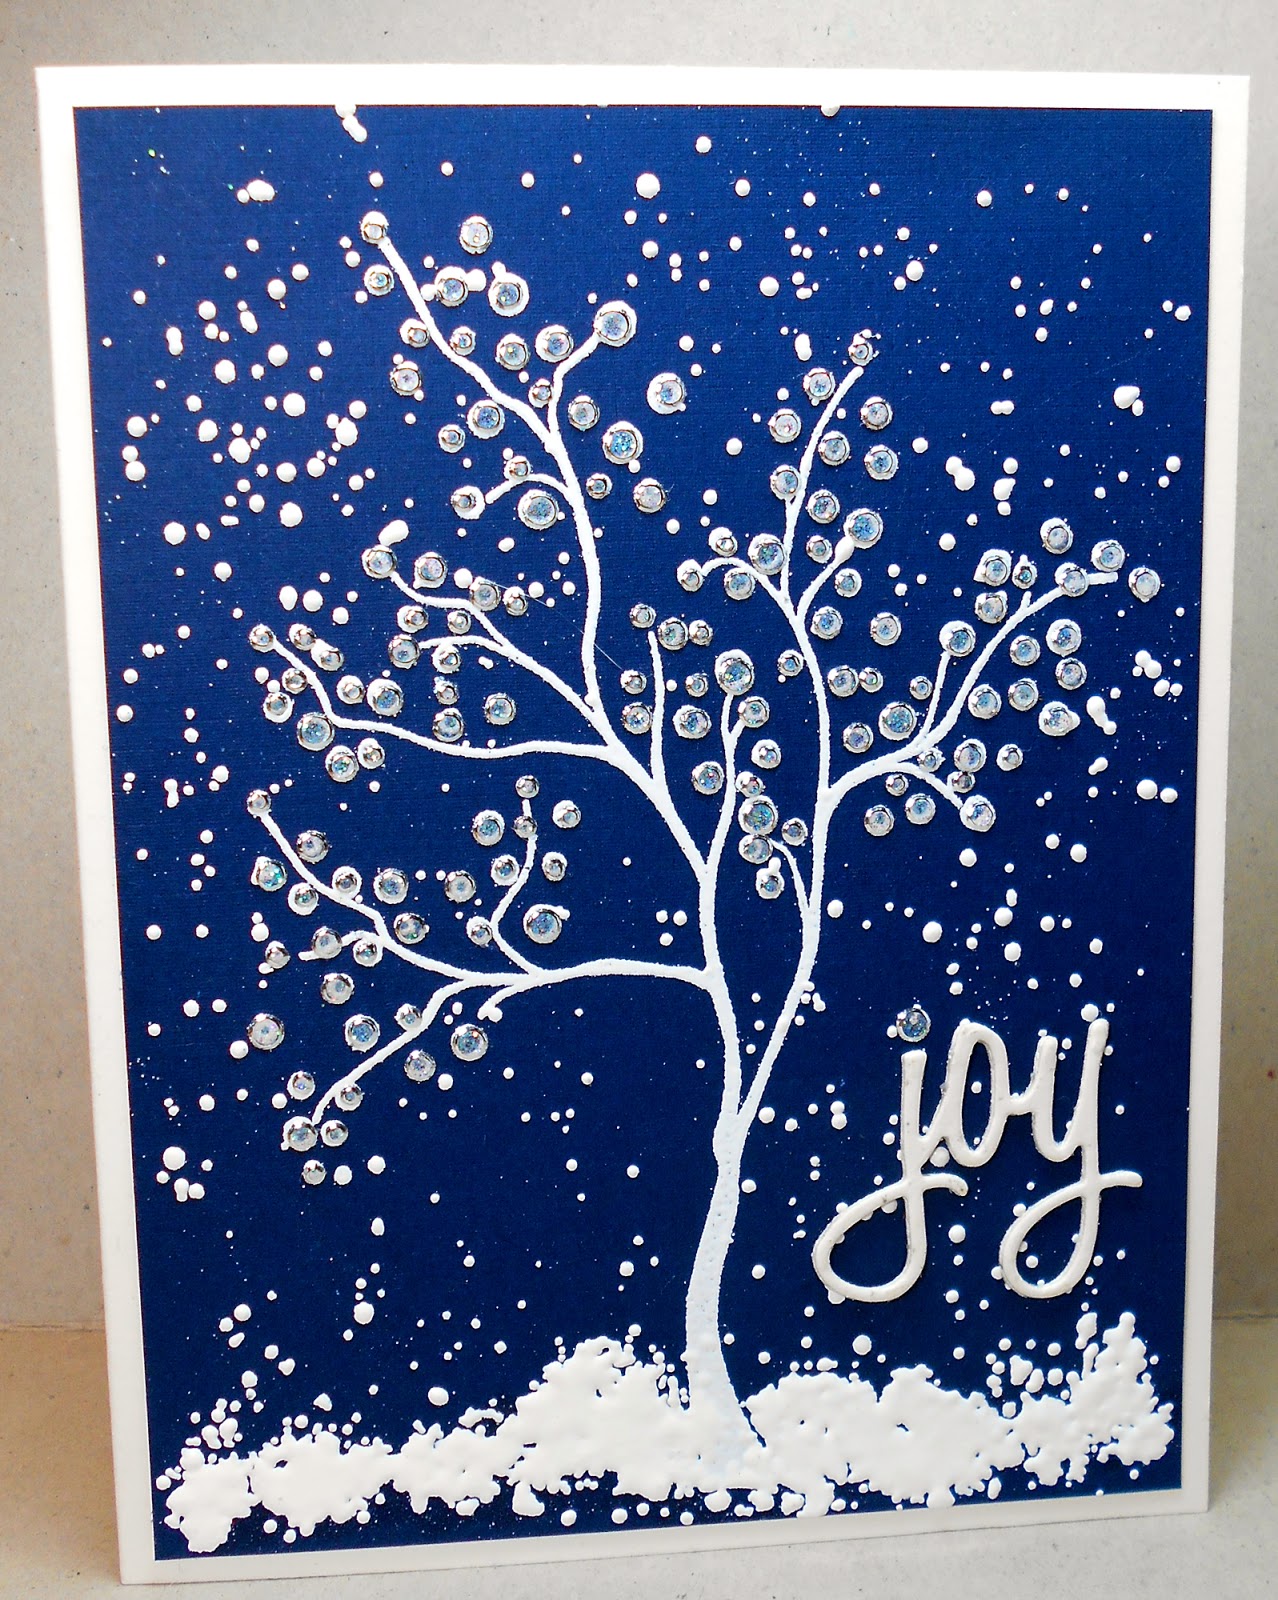
Merry Monday is one of my favourite Christmas card challenges. This week their challenge is "Christmas Lights and Glitter". I don't have any stamps or dies of Christmas lights but I did borrow a stamp from my friend, Loll, called Twinkling Tree that is perfect for a tree lit up with Christmas lights.
I've already posted a couple of cards where I stamped Twinkling Tree on white cs, but when I borrowed it, I also stamped a few in white on navy shimmer cs. I decided to use one of these for Merry Monday - I used a Quickie glue pen and gold glitter in each of the lights on the tree and sprinkled Frantage Shabby White Embossing Enamel around the tree - it created a lovely snowy effect with bits of gold in it. For the snowy ground, I scribbled my Versamark pen along the bottom and added the Frantage to it as well.
It called out for a gold shimmer cs cardbase and a gold die cut sentiment. In real life, it is all very glittery and shimmery - so much so, that I decided to make a much calmer, cooler version that is more "me" in style:
For this version, I painstakingly put little shimmer stickers onto each light on the tree and then sprinkled Frantage Chunky White Embossing Enamel.
Let me know which version you like best!
Thursday, 29 October 2015
Winter Window
I haven't been very creative this week as I've been worrying about my Mum who has been in hospital with heart issues. But thankfully they figured out the problem - and have gone in and done as much repair work as possible for an 89 year old who's health is compromised. She's doing well and will get to go home next week sometime. Thank you to those of you who added encouraging comments on my last post. She love receiving that card I made for her.
Now it's back to Christmas cards. This week's SCS CAS challenge is to make a Christmas card using acetate on the card in some way. I love making cards with windows on them, and acetate is perfect for them.
I used a scrap of glossy cs that I'd coloured with alcohol inks, layered two hills of white cs, used a glue pen to add some glitter to the hills, and then added two die cut trees.
I cut three window dies and glued them together, with the acetate glued in between two of the layers. On the back, I added some glitter along the edges of the window frame.
The window is attached to a background made using a striped embossing folder to look like wood panelling with a scored strip across it for a chair rail.
Thanks for stopping by!
Supplies:
| Paper: white cs, dark green shimmer cs, coated cs |
| Paper Size: A2 |
| Accessories: blue alcohol inks, Memory Box window die, Impression Obsession tree dies, scrap of acetate packaging, glitter, foam tape, SU embossing folder |
Sunday, 25 October 2015
Happy Little Stampers Blog Hop
Welcome to my blog!
Happy Little Stampers are celebrating the second release of their stamps with a blog hop!
Comment on the HLS blog, and then continue on to each Designer. You must comment on all the blogs in the hop to be eligible for prizes.
I love my new Happy Little Stampers stamp set "Thinking of You" so used it for this card:
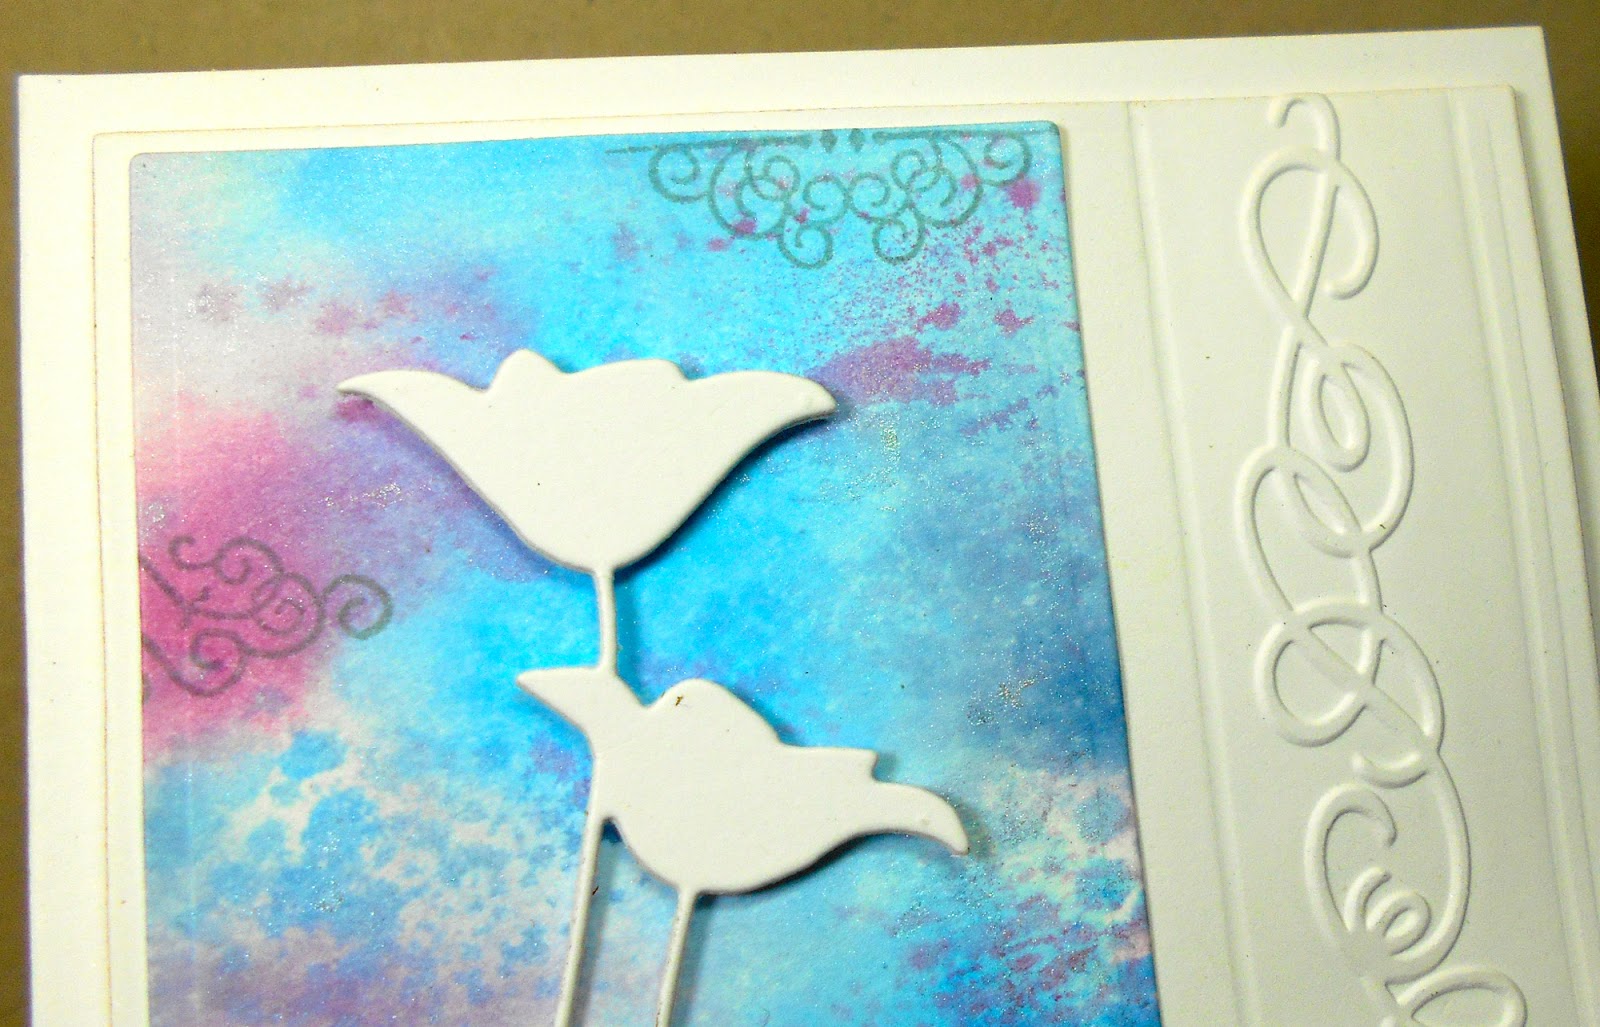
It's got a great small text stamp that I really like for doing mixed media, layered images over inky backgrounds, etc. I made a Wrinkle Free Distress background, but instead of spritzing with water, I spritzed with a homemade shimmer spray. It's hard to photograph the shimmer but it's there in real life! Here's a close-up of the text stamp over my background. It's subtle as I didn't want it to jump out at you. And take a look at the lovely swirly font on the "with love" stamp that comes with the set. It goes perfectly with my flourish embossing folder border.
The ribbon attaching the sentiment is white in real life - not sure why my photo picks it up as yellow!
The flourish embossing folder also works really well with the two little flourish stamps included in the stamp set - also great for adding interest to backgrounds as you can see at the top right and a bit down on the left hand side in this close-up:
I hope I have inspired you today with my card. The designers and I have had so much fun playing with these stamps! Next you need to hop on over to "LesLee's" blog.
Supplies:
Stamps - Happy Little Stampers
Paper - white cs
Size - A2
Ink - Distress Salty Ocean, Faded Jeans, Dusty Concord, Seedless Preserves; and Memento London Fog
Accessories - white sheer ribbon, foam tape, Memory Box Prim Poppy die, Spellbinders ribbon label, Cuttlebug flourish embossing folder border, homemade shimmer spray
Monday, 19 October 2015
Snowflakes and Velvet
This month's Happy Little Stampers' CAS Challenge is "Paper Piecing" - a technique I rarely use. I wanted to do a Christmas card so searched for a line image that lent itself to some piecing. When I came across my Christmas stocking stamp, I thought of piecing the heel, toe, and top with my lovely red velvety specialty paper.
I stamped the stocking on the red velvet paper and cut out the top, toe, and heel, and then stamped it on white cs, coloured the snowflake, and then fussy cut the whole stocking. The velvet pieces are glued on top.
For the background I used a snowflake stencil that Loll Thompson made for me on her Silhouette. It's sponged with pale blue ink to match the snowflake on the stocking. I then used a stitched rectangle die to reflect the stitching around the toe and heel.
Thanks for dropping by!
Supplies:
| Stamps: Rubber Soul sentiment, Heather's Stamp Haven stocking |
| Paper: white cs, red velvet specialty paper |
| Paper Size: A2 |
| Ink: Memento Tuxedo Black and Summer Sky |
| Accessories: homemade snowflake stencil, blue marker, red gemstone, foam tape, Lil Inkers stitched rectangles die |
Friday, 16 October 2015
Triangular Poinsettia
This week's SCS Ways to Use It challenge is "Shape Up" - a card in any shape except squares or rectangles. And also add some pink to honour Breast Cancer Awareness month.
I have some triangular card bases in my stash so this was a perfect opportunity to use one. I coloured my poinsettia with a mix of red and pink markers to get in the pink for the challenge.
I cut a slightly smaller white triangle and embossed it with the SU ef with small triangles on it.
The poinsettia and holly spray are by Local King (a Vancouver company) and some of their stamps come with matching dies. I coloured directly onto the stamp with their markers which are meant to be layered over each other, so started with two shades of pink and added a bit of red at the base of each petal.
I'm also posting it in the Happy Little Stampers "Poinsettia" Christmas Challenge.
Supplies:
| Stamps: Local King poinsettia, Stampendous joy |
| Paper: shimmery red triangular cardbase, white cs |
| Paper Size: 4" across at base, 5.5" tall |
| Ink: Local King markers |
| Accessories: SU ef, Local King poinsettia die |
Subscribe to:
Posts (Atom)