
The Group of Seven Cardmakers are trying the batik technique this month. I did this a few years ago but was not totally happy with the results. Group of Seven has posted a video with the technique so I watched it, followed it to the letter, but really didn't like the results. I wondered what I could do to get a better result and decided that what I didn't like was the way the creases came out - and that was my problem when I tried it before. See the snowflake card on this post to see the way the creases are - I just didn't like them. I like the creases on this post slightly better but still not that happy.
Like the video on Group of Seven, both of my earlier cards used regular weight cardstock. I had the idea to try something lighter that I could just scrunch it up rather than fold and score it, and, hooray, I got results I like much much better. I used a heavyweight printer paper - 32 lb. weight (as opposed to regular printer paper which is only 20 lb. weight). After stamping and heat embossing, I literally scrunched up the paper and that created far more random creases than the folding and pressing with a bone folder like the video shows.
Here's the first card I made:
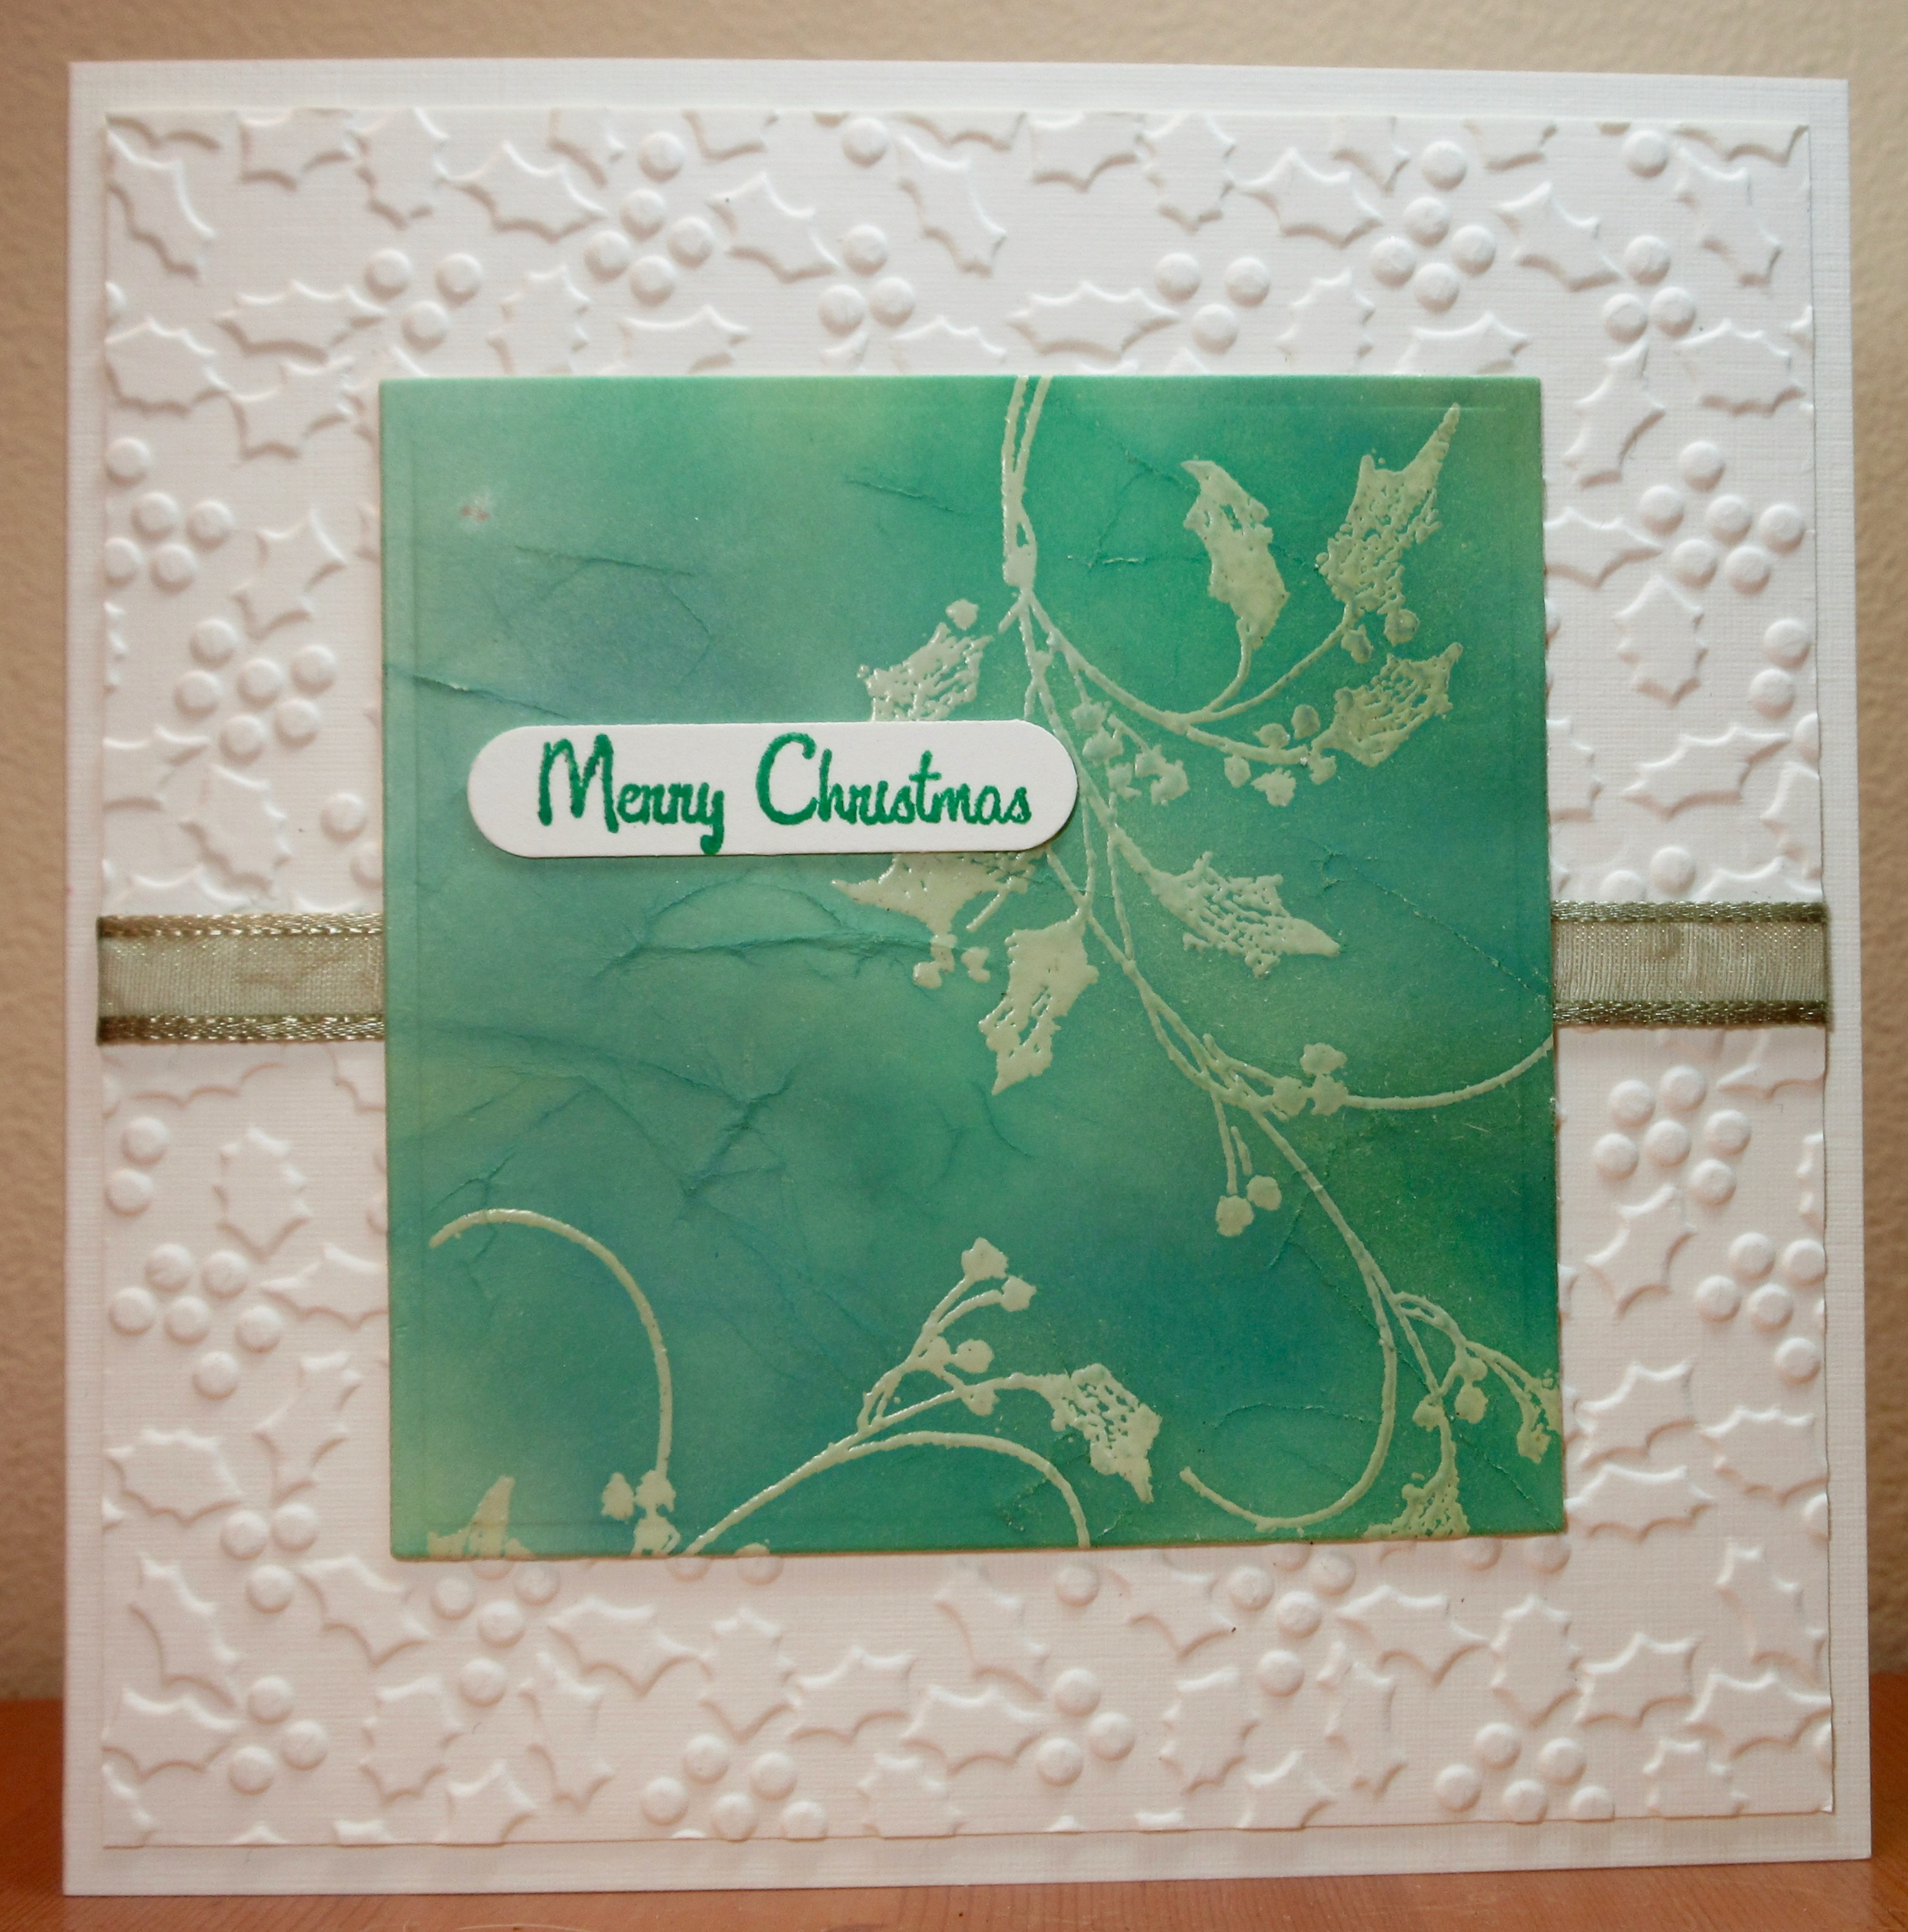
For this one I followed the video's instructions about laying down some light colour first (I think I used Shabby Shutters and Old Paper), then stamped and heat embossed in clear embossing powder, then crumpled the paper, and then sponged over it with darker shades of green. I trimmed it, used a sheet of double sided tape to stick it to cardstock to give it strength, then layered over a dry embossed background. Because my panel was 5" wide I had to run half of it through the embossing folder, then the other half, so I ended up with a messy bit in the middle - I covered that with a strip of ribbon.
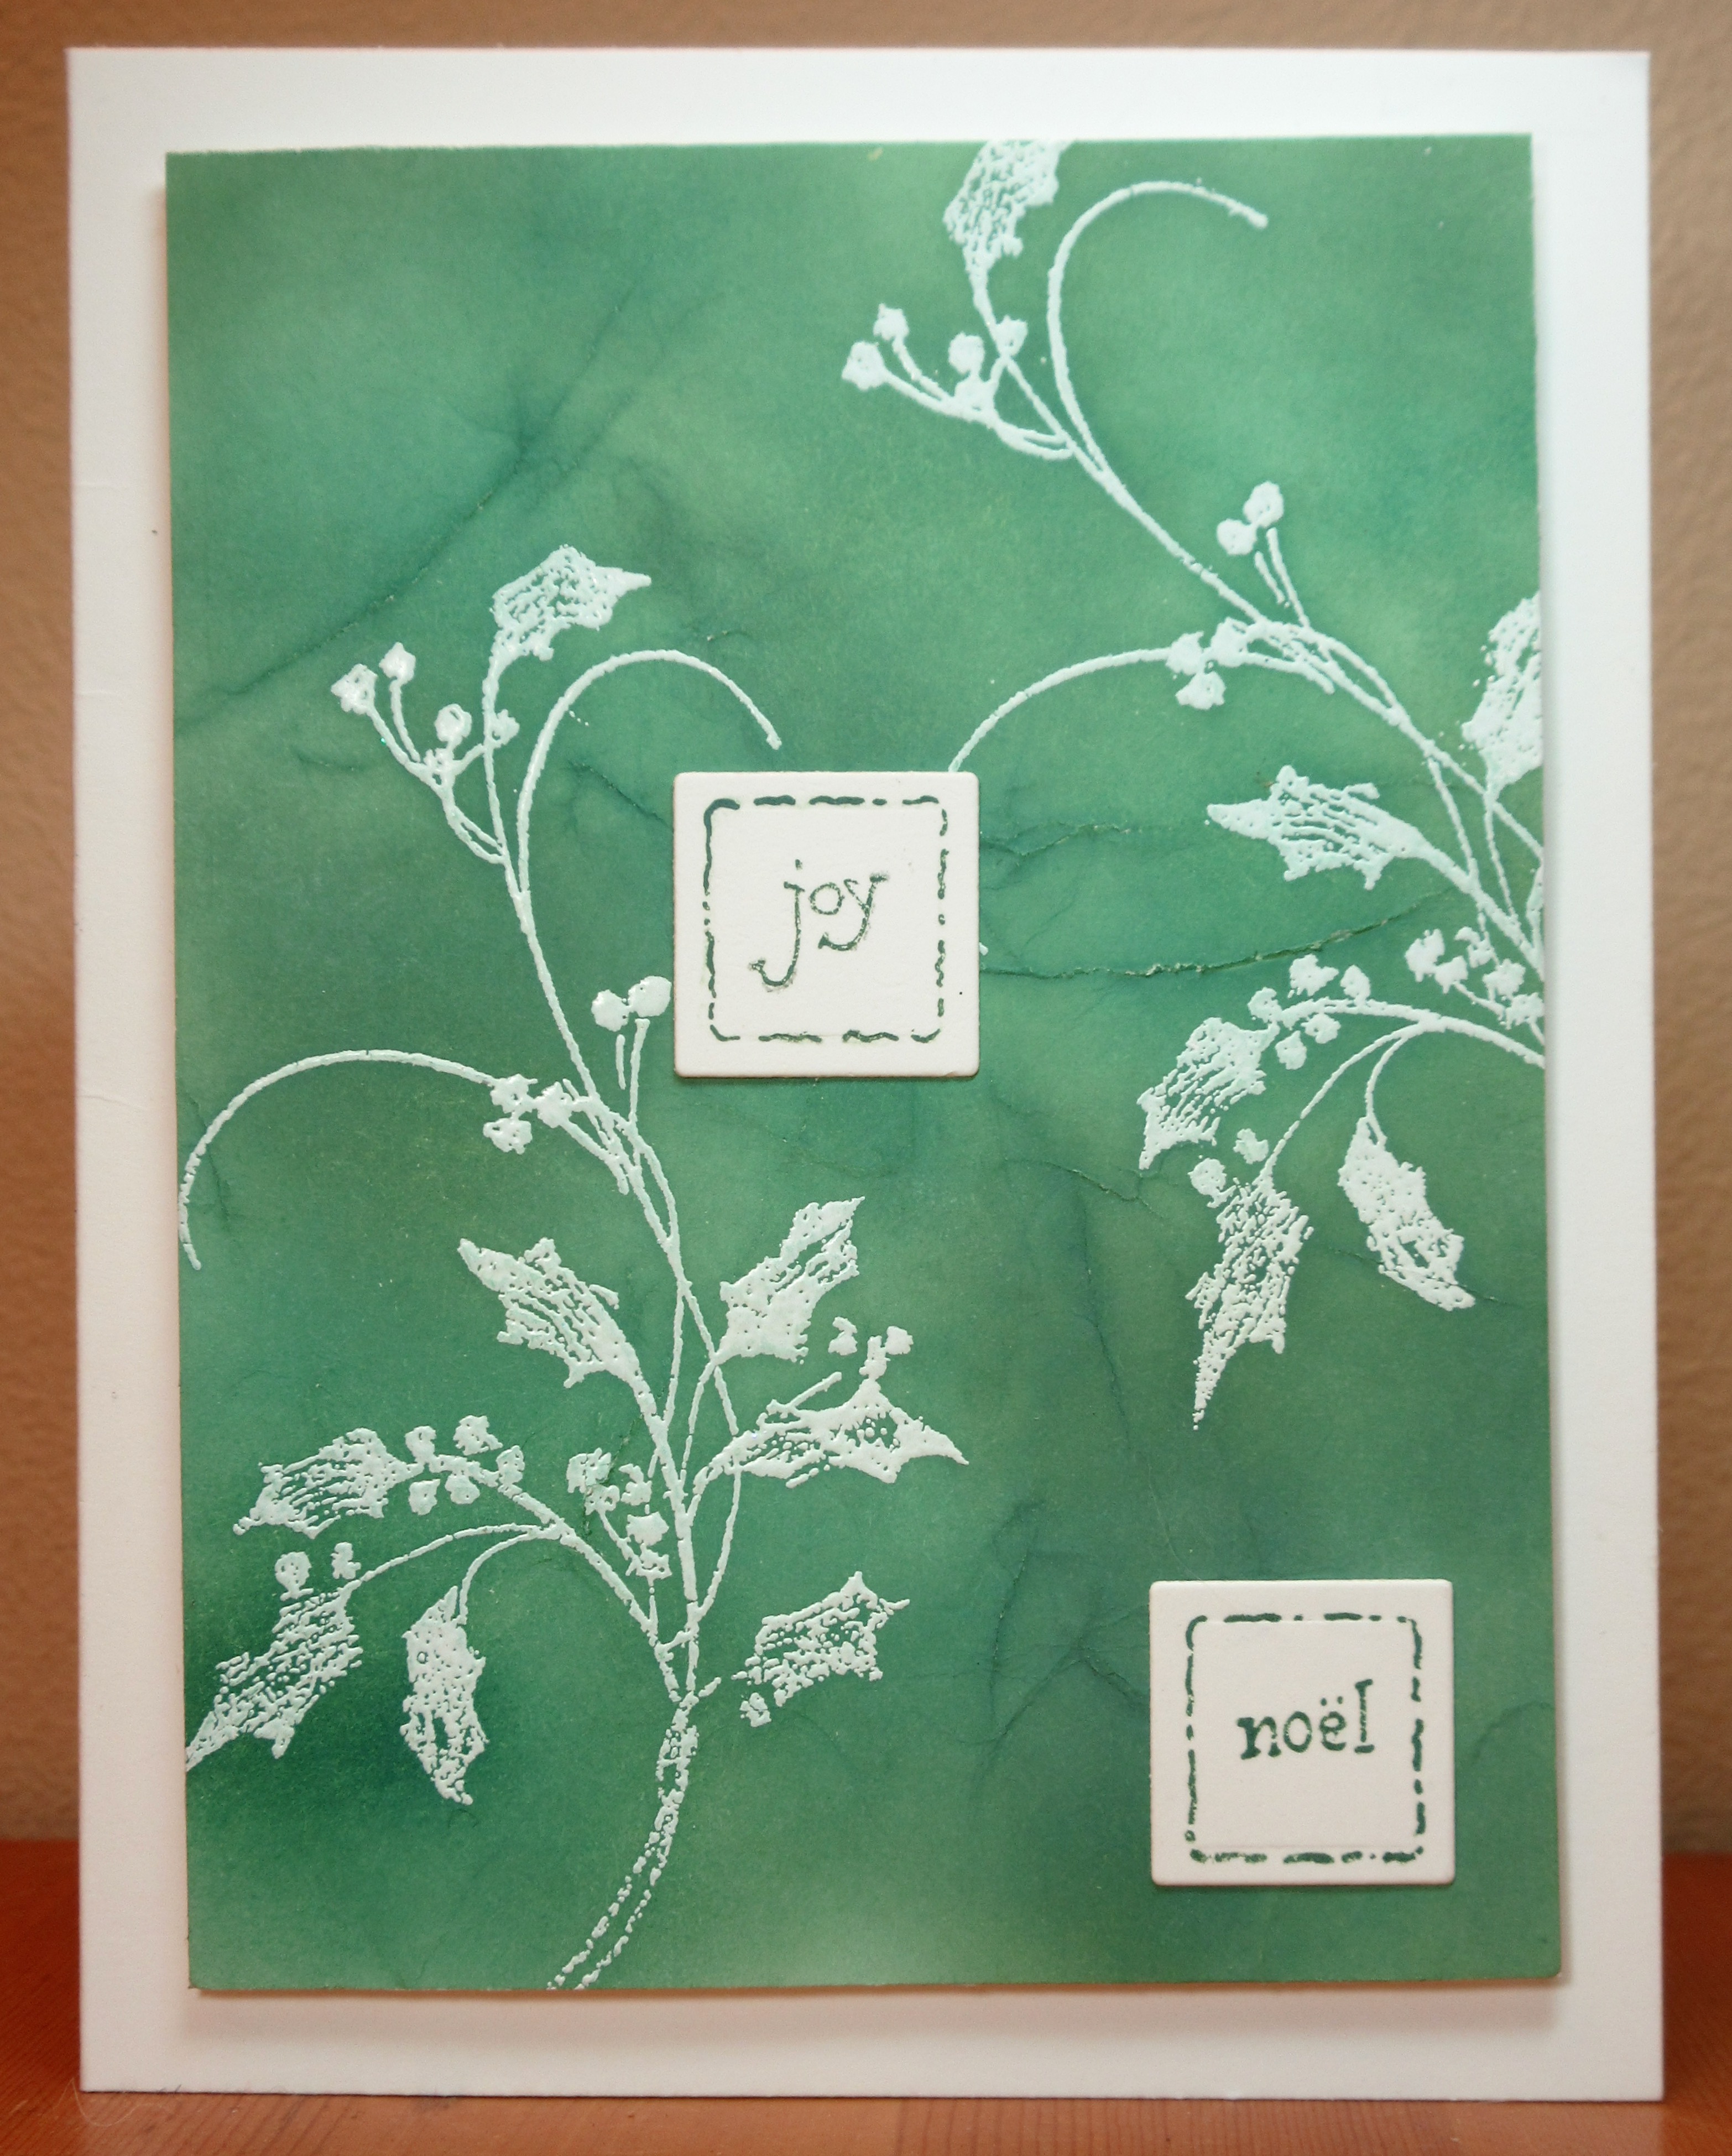
What I didn't like about that card was how muted the holly looks with the inks behind it, so for the next card, I just stamped and heat embossed with clear embossing powder before crumpling the paper and doing the ink blending.

I still wanted more contrast between the image and the ink blending so for my last (and favourite one), I stamped and heat embossed with opaque creamy white embossing powder.
Please let me know in the comments which one you like best!!
We'd love to have you try whatever way you like to get a batik look to your card. Please post over at Group of Seven. And check out the other examples by the rest of our group!


Supplies:
Stamps - Penny Black holly stamp, Rubber Soul Merry Christmas, Stampendous little square sentiments
Ink - Versamark, many various green Distress Oxide inks
Paper - white, cream, and green cs, 32 lb. heavyweight printer paper
Size - A2 and 5.25" square
Accessories - clear embossing powder, Papermania Seafoam White embossing powder, Sizzix holly embossing folder, ribbon, SU sentiment punch, Spellbinder square and rectangle dies
Susan, Loll sent me! She talked about your 'crunched up' version, and I couldn't wait to see your cards! I think you've gotten really fantastic results - the random creases are more organic. I agree with you that the creamy white of this final card is the showstopper! I love the stamp you've chosen, and the colors are divine!
ReplyDelete=] Michele
I like that crunched up technique for your folds Susan - and I like the second card best! So pretty with the white holly against the green! Julia xx
ReplyDeleteThree beautiful cards Susan and the scrunching looks great giving a less structured more random look to it, and I do like the colour behind the holly on the first and then the clear embossing and finally the white embossing on the last which are both lovely but can see that the white really pops. x
ReplyDeleteLove your idea of using lighter weight paper and crunching instead of folding. I will definitely have to give that a try!! :) All three cards are so pretty, but I do like the contrast more on the second and third cards. We are always learning and I love the way you changed the technique to work for you!! xx
ReplyDeleteEach of these cards is so pretty, Susan! I like the look of the holly with the light green coloring, but my favorite is the one with more contrast! I love the look of the scrunching. What a great idea!
ReplyDeleteall the cards look wonderful but I must admit I like the soft wrinkles of the thinner paper. Thanks for giving me a piece of the thicker paper. I'll try it this week.
ReplyDeleteAll of them are great! The scrunching is very cool and shows up so well on the second card. The holly is a good contrast on the third card but I love them all.
ReplyDeleteAll awesome. The scrunching idea was brilliant!.
ReplyDeleteThese are simply gorgeous, Susan, both here on the monitor and in person! I love each one and am especially aswoon over the shades of green with the bright white! Sorry, but I love them all equally! Hugs, Darnell
ReplyDelete